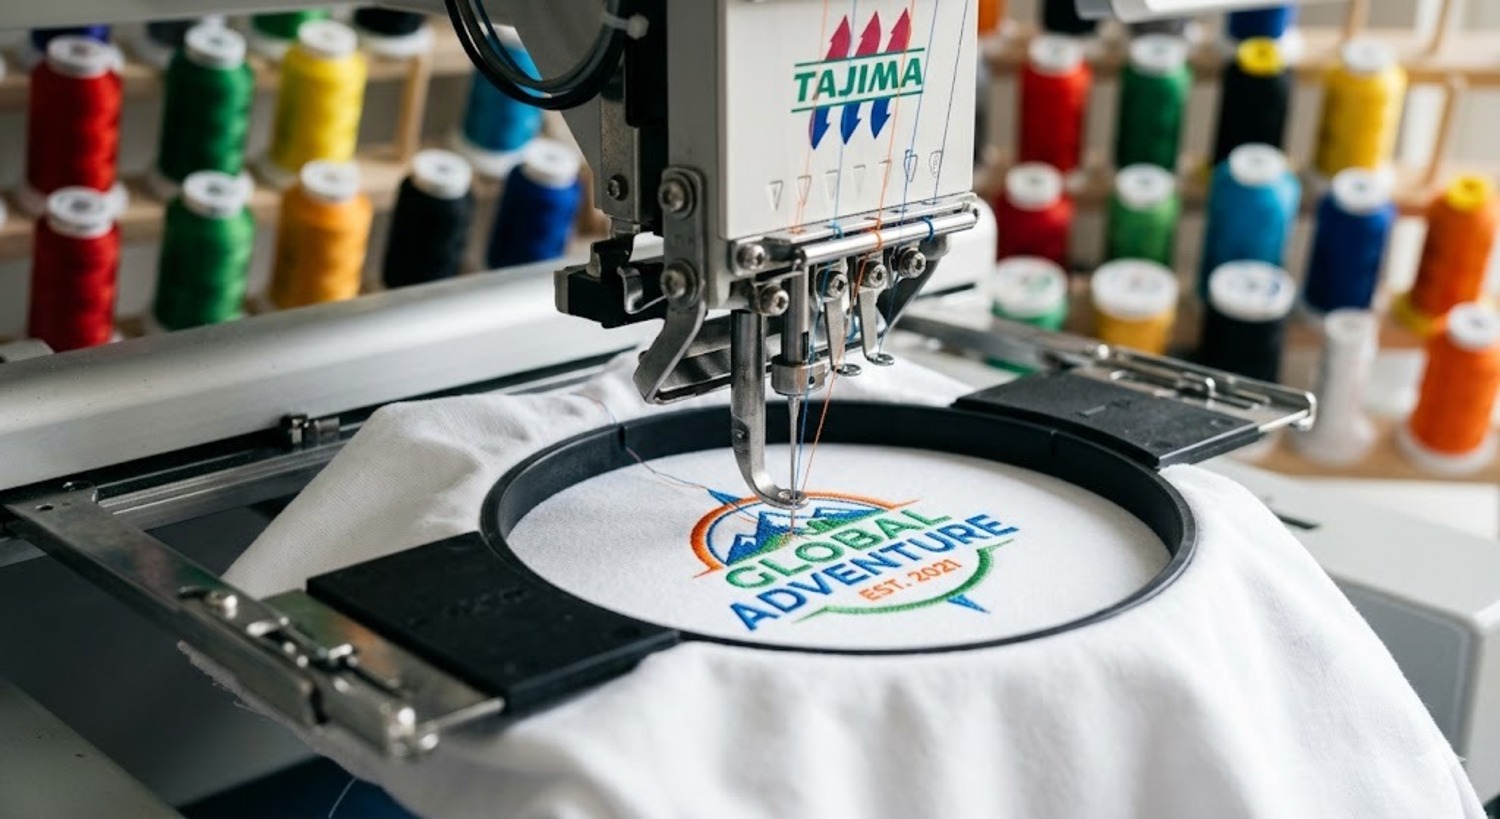

Embroidery stabilizers are backing materials that support fabric during stitching to prevent stretching, puckering, or misalignment. To use them, place the stabilizer beneath or behind your fabric before hooping, then embroider your design. After stitching, trim or remove the stabilizer depending on its type.
Key Takeaways on Using Embroidery Stabilizers
- Stabilizers keep fabric firm and prevent puckering during embroidery.
- Choose your stabilizer type (cut-away, tear-away, or wash-away) based on fabric and design density.
- Always hoop both fabric and stabilizer together for best stitch alignment.
- The right stabilizer enhances stitch quality and extends the life of your embroidery.
- Proper removal, cutting, tearing, or rinsing, depends on the stabilizer type used.
Understanding the Purpose of Embroidery Stabilizers
Embroidery stabilizers play a crucial role in creating smooth, precise, and durable embroidery. They provide a firm foundation beneath your fabric, helping it stay flat and stable while your machine stitches the design. Without a stabilizer, fabrics may stretch, wrinkle, or shift, causing uneven stitches and distorted patterns.
Stabilizers also support dense or detailed embroidery by distributing thread tension evenly. Whether you’re working with delicate fabrics like silk or thicker materials like denim, the right stabilizer ensures professional-quality results that last wash after wash.
4 Main Types of Embroidery Stabilizers
There are several kinds of stabilizers, each designed for specific fabrics and embroidery styles. Choosing the right one makes all the difference in stitch quality and finish.
1. Cut-Away Stabilizer
Cut-away stabilizers are permanent backings ideal for stretchy or delicate fabrics like knits. After embroidery, you trim away the excess around the design, leaving the rest to support stitches during wear and washing.
2. Tear-Away Stabilizer
Tear-away stabilizers are temporary and great for woven fabrics such as cotton or denim. Once embroidery is done, you gently tear away the excess stabilizer from the back, leaving clean edges.
3. Wash-Away (Water-Soluble) Stabilizer
Perfect for sheer or delicate materials, wash-away stabilizers dissolve completely in water after embroidery. They’re often used for freestanding lace or projects where the backing shouldn’t be visible.
4. Heat-Away Stabilizer
Heat-away stabilizers disappear when pressed with a hot iron. They’re great for specialty fabrics that can’t be washed but still need temporary support during stitching.
Each type offers a unique advantage, understanding when and how to use them helps you achieve clean, stable, and professional embroidery results.
Choosing the Right Stabilizer for Different Fabrics
Picking the correct stabilizer depends on your fabric type and design density. Using the wrong one can cause puckering, distortion, or loose stitching. Here’s how to choose wisely:
1. Knit Fabrics (T-Shirts, Sweatshirts, Jersey)
Use a cut-away stabilizer. Knits stretch easily, and cut-away backings provide permanent support to prevent distortion during wear and washing.
2. Woven Fabrics (Cotton, Linen, Denim)
Use a tear-away stabilizer. These fabrics are stable enough to handle temporary backing, and tearing it away after stitching leaves a clean finish.
3. Sheer or Delicate Fabrics (Organza, Silk, Net)
Use a wash-away stabilizer to avoid visible backing. It dissolves completely, making it perfect for light or transparent materials.
4. Heavy Fabrics (Canvas, Towels, Jackets)
Use a medium to heavy tear-away or cut-away stabilizer for strong stitch support. Consider layering stabilizers for extra firmness if the design is dense.
5. Specialty Projects (Lace, Patches, Badges)
Go with wash-away stabilizers for lace or freestanding embroidery, and heat-away for materials that can’t get wet.
Pro Tip: Always test your stabilizer and fabric combination before final stitching to ensure the best results.
Step-by-Step Guide: How to Use Embroidery Stabilizers
Using embroidery stabilizers the right way ensures your design stitches cleanly and securely. Follow these simple steps for professional results:
1. Prepare Your Fabric and Stabilizer
Cut your stabilizer slightly larger than your hoop size. Place it beneath (or behind) your fabric so it fully supports the design area.
2. Hoop the Fabric and Stabilizer Together
Hoop both layers tightly, ensuring the fabric is smooth and wrinkle-free. Proper hoop tension is key, too loose causes puckering, too tight can stretch your fabric.
3. Align Your Design
Mark the embroidery placement with a washable pen or use your machine’s centering tools to align the design perfectly on the fabric.
4. Stitch the Design
Run a test stitch if possible. Let your machine complete the embroidery while watching for shifting or thread bunching.
5. Remove the Stabilizer
Once stitching is done:
- Tear-away: Gently tear excess around the design.
- Cut-away: Trim with scissors, leaving some backing for support.
- Wash-away: Rinse until the stabilizer dissolves completely.
- Heat-away: Press with a hot iron until the material disappears.
6. Final Press and Finish
Lightly press your embroidery from the back with a pressing cloth to smooth it out and set the stitches.
6 Tips and Tricks for Professional Results
Getting clean, professional embroidery doesn’t just depend on your machine—it’s also about how well you use your stabilizer. Here are some tried-and-true tips to elevate your stitching quality:
- Match stabilizer weight to design density: Heavy designs need firmer backing; light designs work best with lighter stabilizers.
- Use multiple layers when needed: Layering stabilizers adds extra strength for dense or high-stitch-count designs.
- Pre-test on scrap fabric: Always test your stabilizer and thread tension before starting your final piece.
- Avoid hoop burn: Place a thin cloth between the hoop and fabric for delicate materials.
- Don’t skip trimming: Leaving excess stabilizer can make embroidery stiff or uncomfortable against the skin.
- Combine types for complex projects: For example, use a tear-away underneath and a water-soluble topping for textured fabrics like towels.
A few small adjustments in stabilizer choice and technique can make your embroidery look crisp, balanced, and long-lasting.
6 Common Mistakes to Avoid with Embroidery Stabilizers
Even experienced embroiderers can make errors that affect stitch quality and fabric appearance. Avoid these 6 common stabilizer mistakes to keep your designs looking sharp and professional:
1. Using the Wrong Stabilizer Type
Choosing a tear-away when a cut-away is needed—or vice versa—can cause puckering, stretching, or unraveling after washing.
2. Hooping Too Loosely
A loose hoop allows the fabric to shift, causing misaligned stitches. Make sure both the fabric and stabilizer are tightly hooped.
3. Skipping the Stabilizer Entirely
Never embroider without a stabilizer. The fabric will bunch up, distort, and ruin the stitch quality.
4. Over-Stabilizing Your Fabric
Using too many layers or an overly thick stabilizer can make your embroidery stiff and bulky. Use just enough support for the fabric and design density.
5. Improper Removal
Tearing, cutting, or rinsing too aggressively can damage stitches or distort fabric. Always remove stabilizer gently and according to its type.
6. Ignoring Fabric Type
Different fabrics need different stabilizers, stretchy, heavy, and sheer materials all behave differently under the needle. Always match your stabilizer to your fabric’s texture and flexibility.
Pro Tip: When in doubt, do a small test run to check how your stabilizer performs before committing to the final design.
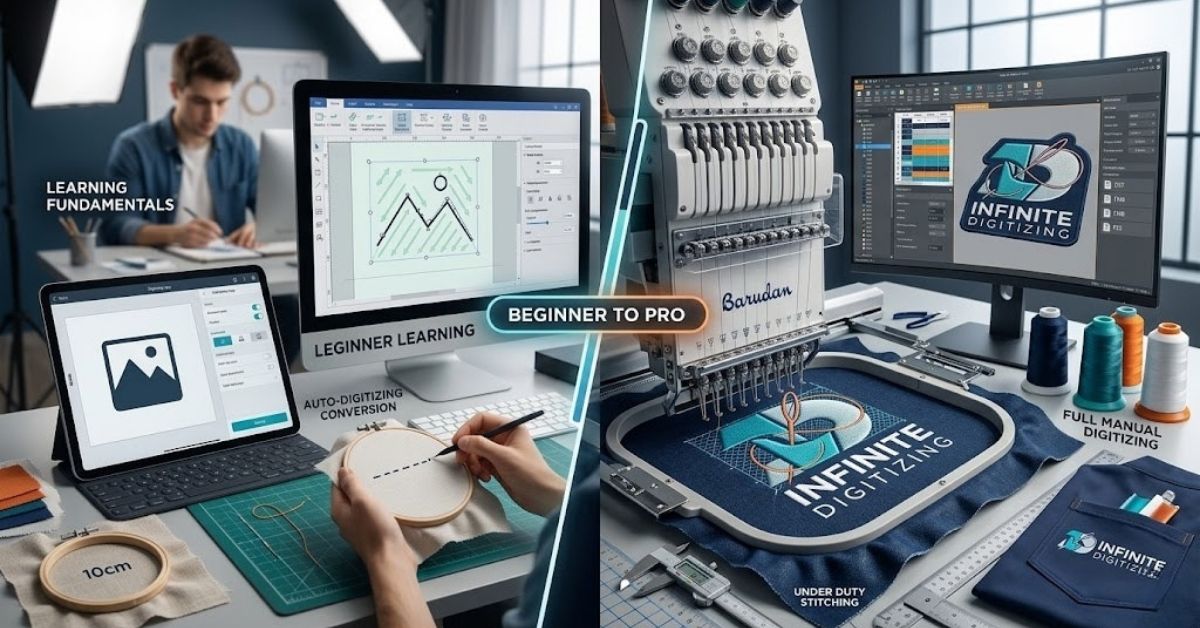
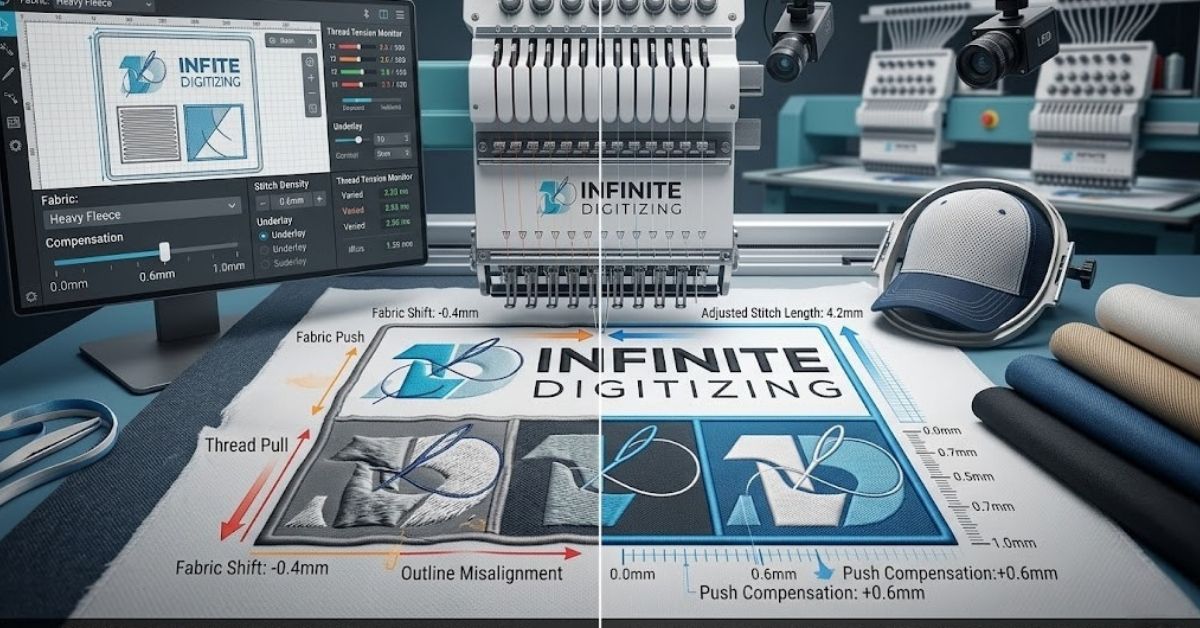
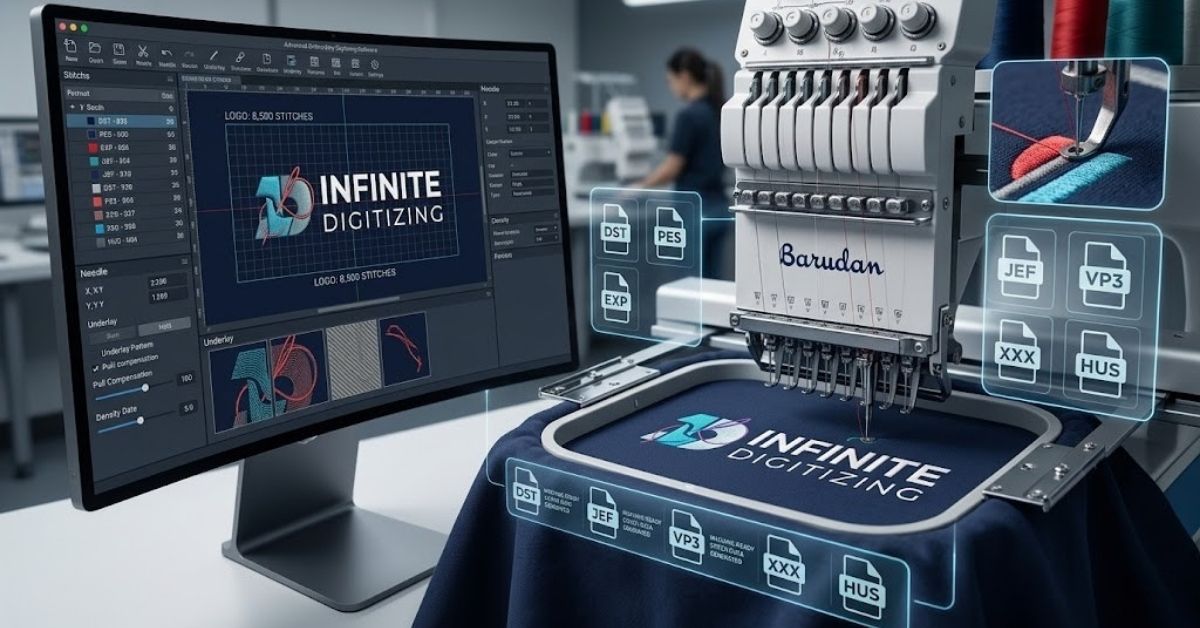
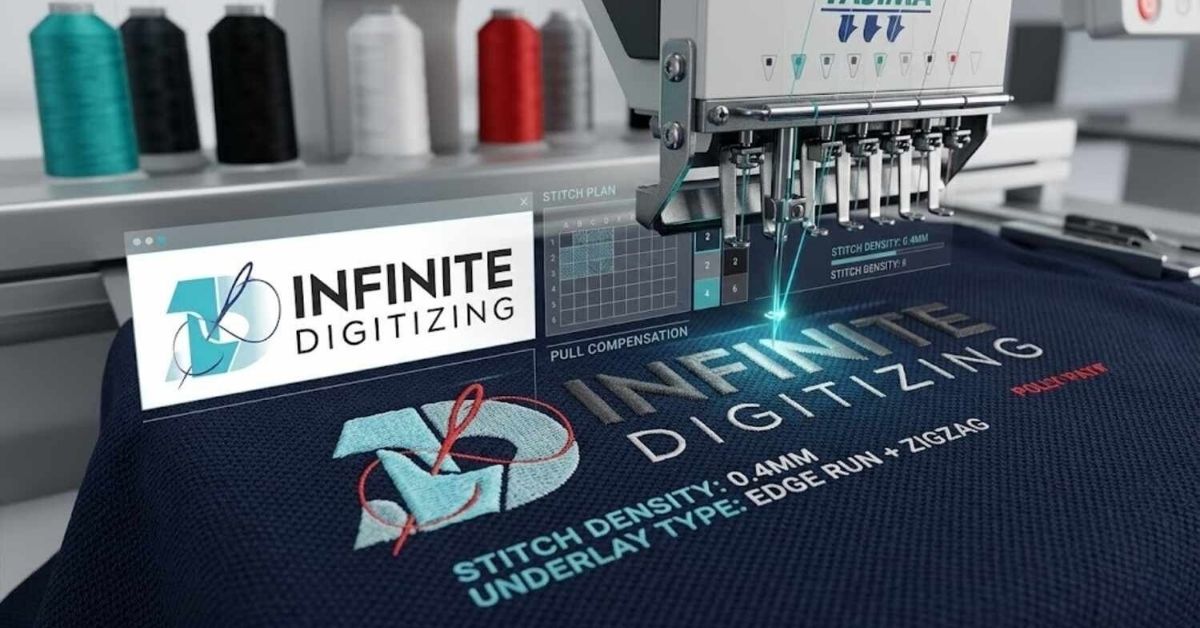
Get Professional-Quality Results with Infinite Digitizing
Perfect embroidery starts with expert digitizing, and that’s where Infinite Digitizing makes all the difference. Our team ensures your design files are optimized for clean stitching, correct stabilizer use, and flawless results on any fabric type.
Why Choose Infinite Digitizing for Embroidery Projects
- Precision Digitizing: Every stitch path is crafted to minimize puckering and distortion.
- Fabric-Specific Optimization: We tailor stitch density and underlay based on the stabilizer and material you’ll use.
- Fast Turnaround: High-quality embroidery files delivered quickly, ready to sew.
- Dedicated Support: Our team helps you choose the right stabilizer and technique for every design.
Whether you’re working on caps, polos, uniforms, or custom apparel, Infinite Digitizing ensures each piece runs smoothly on your embroidery machine and looks professionally finished.
Get started today with Infinite DigitizingFAQs About Embroidery Stabilizers
Here are some of the most common questions embroiderers ask about using stabilizers — along with clear, practical answers to help you achieve the best results every time.
1What is the best stabilizer for machine embroidery?
It depends on your fabric and design. Cut-away stabilizers work best for stretchy fabrics, while tear-away is ideal for stable woven materials. For delicate or sheer fabrics, use wash-away stabilizers.
Can I reuse an embroidery stabilizer?
No. Stabilizers are meant for one-time use because they lose strength after stitching or removal. Always use a fresh piece for each new project.
How do I know which stabilizer to use for my fabric?
Match your stabilizer to your fabric’s stretch and thickness. Stretchy fabrics need permanent support (cut-away), while firm fabrics can handle temporary backing (tear-away).
Why is my embroidery puckering even with a stabilizer?
This usually happens from hooping too loosely, using the wrong stabilizer type, or having improper tension settings. Re-hoop your fabric tightly and check your thread tension.
Can I use multiple stabilizers together?
Yes! Layering stabilizers adds strength for dense designs or thick fabrics. A common combo is tear-away underneath and wash-away on top for textured fabrics like towels.
What’s the difference between wash-away and heat-away stabilizers?
Wash-away stabilizers dissolve in water, while heat-away stabilizers disappear when pressed with a hot iron, perfect for fabrics that can’t get wet.
Do I always need a stabilizer for embroidery?
Yes. Skipping stabilizer causes fabric shifting, uneven stitches, and distortion. Even sturdy fabrics benefit from stabilizer support.
How do I remove the stabilizer after embroidery?
It depends on the type: tear it off gently for tear-away, trim for cut-away, rinse for wash-away, or press for heat-away. Always follow the product’s instructions.
What stabilizer is best for t-shirts?
Use a soft cut-away stabilizer. T-shirts are made of stretchy knit fabric that needs permanent support to prevent distortion.
Should I use a stabilizer for hand embroidery?
Yes, especially for light or stretchy fabrics. A light tear-away or wash-away stabilizer can help keep stitches even and prevent puckering.
Discover More Embroidery Guides with Infinite Digitizing
Keep expanding your embroidery knowledge with our other helpful articles: