Creating an image into a perfectly embroidered one involves not only artistry but also engineering. Although technology gives all the necessary tools, knowing how cloth behaves and how needles must move and what stitches are best for specific patterns is essential. This guide, brought to you by professional embroidery digitizing services, will lead you through all the stages from being a total novice to mastering the art of embroidery.
What Is Embroidery Digitizing?
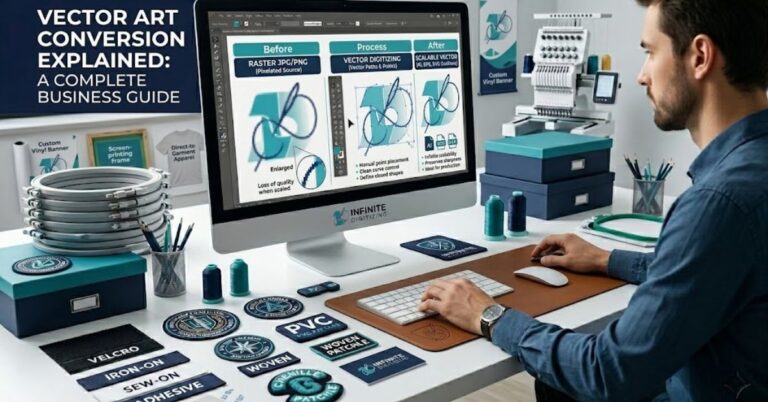
Embroidery digitization is the meticulous process by which a pattern is converted to an input file ( DST or PES) that provides instructions to the embroidery machine. It is not automatic but requires manual modification based on the fabric type, its density, and tension.
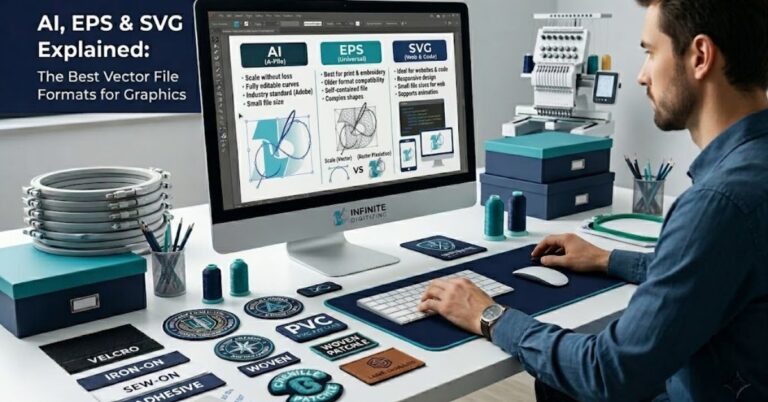
- File Formats: Converts designs to computer-readable formats such as DST, PES, or EMB with digitizing services for embroidery.
- Fabric Considerations: Requires modifications depending on the fabric used – pique polo shirts, hard hats, or sport fleece garments with affordable embroidery digitizing services.
- The Problem: Bad digitization leads to broken threads, puckers, snapped needles, and ruined clothing during production.
Step-by-Step: How to Digitize a Design from Scratch
If you decide to test your digitizing skills manually, you won’t get far with shortcutting the process. This organized process helps industry experts go from a simple image to a perfect finished product.
1. Prepare & Clean Your Artwork
You will require a high-quality photo, preferably in vector form (AI/EPS) or raster form (PNG 300 dpi). You must remove the blurred edges before using affordable embroidery digitizing services.
2. Import & Calibrate
Import the art into your embroidery software, like Wilcom and Hatch, and scale it to its true size.
3. Set Fabric & Hoop Size
Select your specific target material (like a pique polo or structured cap). The software will automatically adjust baseline stitch density and pull compensation for that fabric while using digitizing services for embroidery.
4. Assign Stitch Types
Map out which areas get which treatment. Use satin stitches for clear edges and text, fill stitches for big areas, and running stitches for thin lines on a map through affordable embroidery digitizing services.
5. Program the Underlay
Map out the hidden underlay stitching first. This essential foundation anchors the fabric to the stabilizer and prevents shifting with the best embroidery digitizing services.
6. Define the Stitch Sequence
List out all the stages right from start to finish. Work from the center towards the ends, moving from the back to the front of the garment. This will minimize thread snags, breaks, and puckering of the material.
7. Test Sew
Before starting on the actual garment, make sure you always do a test stitch on a swatch of the same material to ensure that there are no holes, misalignments, or creases during embroidery production.
8. Export the Format
Keep your main file for later changes, and then save a copy in the format needed for your machine (like DST for commercial machines or PES for Brother) using the best embroidery digitizing services.
Stitch Types Every Digitizer Must Know
Choosing the wrong structural stitch ruins a design’s texture, weight, and durability. Professional digitizing services for embroidery take many years to learn how different types of stitches work with woven fabrics.
- Satin Stitch: Great for writing, columns, and thin edges. Keep column widths below 10mm to prevent loose, snagging threads.
- Fill / Tatami: Best for large, wide, solid shapes. They will need accurate stitch angles so that there won’t be any problem in terms of distortion and tension.
- Running Stitch: Used when making fine lines, outlining, and joining areas together in a design.
- E-Stitch: Ideal for creating decorative borders and achieving a traditional look. It makes a very compact zigzag stitch that keeps the edges of the fabric from fraying.
Why Underlay Stitching Makes or Breaks Your Design
Underlay stitching is the unseen foundation sewn before decorative top stitches. Without it, fabric shifts, top stitches sink, and outlines drift. Many top-tier digitizing services for embroidery place massive emphasis on this hidden layer.
- Center Run: A single line down the middle of a column to secure the fabric core.
- Edge Run: A perimeter line running just inside a shape’s border to crisp up final edges.
- Zigzag / Grid: A lattice-like network used under large fills to bind fabric directly to the backing.
- Fabric Rule: Thick fabrics, such as fleece, have to be held down using thick grids, whereas light fabrics have to be worked using little underlay.
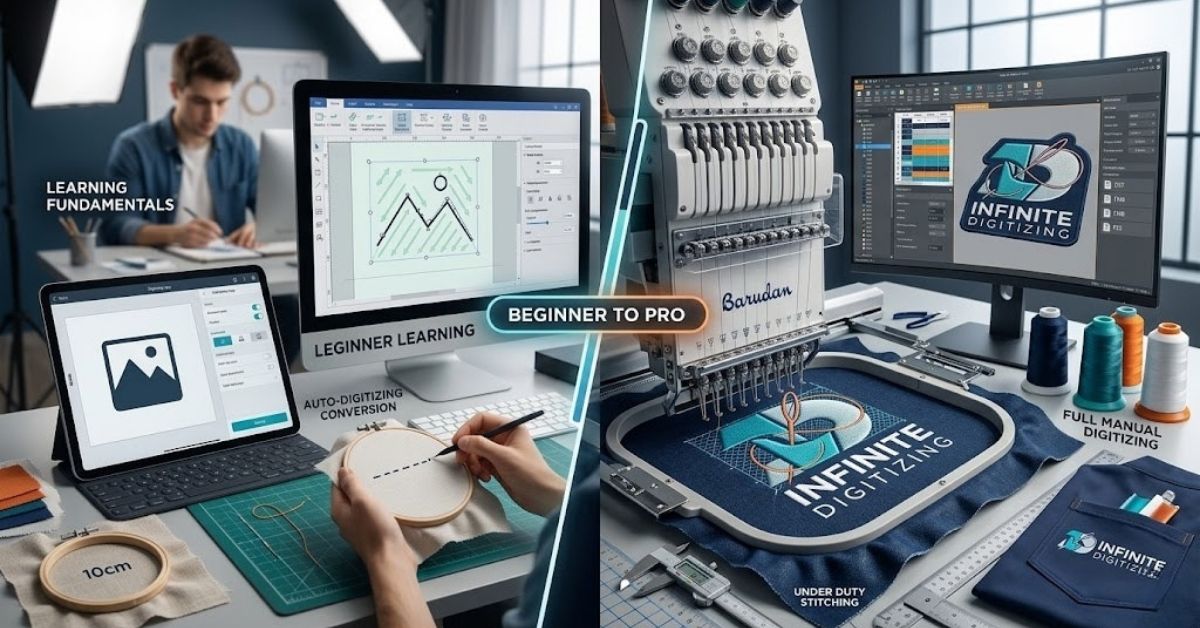
Best Software for Beginners: Wilcom vs. Hatch
Your budget, production quantity, and future career plans will determine software investment. When you’re not willing to invest a lot at first, you can make use of affordable embroidery digitizing services that won’t drain your bank account.
- Wilcom Embroidery Studio: The top choice for businesses. It has powerful technical features and smart automatic design tools, but it’s difficult to learn and costs a lot of money.
- Hatch Embroidery Software: Designed specifically using Wilcom’s basic technology, hence the best software to begin a business from home or learn for fun because it is user-friendly with different pricing levels.
- The Shortcut: Many companies seek to hire experts in digitizing services for embroidery so that their production remains flawless for three to six months when they learn the software manually.
When to DIY vs. Use Professional Digitizing Services
Manual digitizing takes a lot of time and practice. It’s best to learn while also hiring professionals when you need perfect results.
| Scenario | Recommended Path |
|---|---|
| One-off personal or hobby gift | DIY: Use a free trial of Hatch to learn the basics. |
| Corporate logo order for a high-value client | Professional Service: Don’t risk client relationships on early learning curves. |
| Complex, multi-color designs with gradients | Professional Service: Blending colors cleanly requires seasoned experience. |
| Building long-term professional skills | DIY: Dedicate daily hours to manual software practice. |
| Tight deadline with zero room for machine errors | Best Embroidery Digitizing Services: Lean on a team with guaranteed turnarounds. |
| Budget-conscious small business production | Affordable Digitizing Services: Flat-rate files keep production costs highly predictable. |
How to Choose the Best Embroidery Digitizing Services
Outsourcing your files to increase efficiency should not be done using inexpensive automated tracing services. However, consider outsourcing and looking for the best embroidery digitizing services, taking into account the following vital aspects:
- Turnaround: For you to use your embroidery machines constantly, the turnaround time must be constant for a period ranging from 6 to 8 hours.
- Revisions: Free edits that are simple to make to fit your machine perfectly.
- Formats: Native and production-ready files scaled for your specific machine models (DST, PES, EXP).
- Fabric Expertise: Custom stitch densities tailored to structured caps, performance polos, or heavy hoodies.
Infinite Digitizing combines USA-based quality control with swift 6 to 8 hour turnarounds and flat-rate pricing. We test-sew every file to eliminate errors before they hit your shop floor.
Conclusion
Learning how to convert embroidery into digital form takes time, effort, and knowledge about fundamentals. This can be achieved either through self-training on software or by collaborating with an organization like Infinite Digitizing for the smooth operation of the business. Focusing on creating proper stitch files will ensure efficient production processes and quality output and quality output products.
FAQs
1. What is the best embroidery digitizing software for beginners?
Hatch Embroidery Software is ideal for beginners due to its user-friendly interface and tiered, affordable pricing structures.
2. Can AI do embroidery digitizing?
No. Current AI only auto-traces images, leading to frequent thread breaks, puckering, and unwearable, low-quality garments.
3. What skills are needed for digitizing?
You need graphic design skills, spatial awareness, and a deep understanding of fabric behavior under needle tension.
4. How much does an embroidery digitizer make?
Freelance digitizers typically make $15 to $30 hourly, while experienced production masters earn significantly higher salaries.
5. How do I choose the right software?
Base your choice on budget, machine compatibility, and whether you want basic hobby tools or commercial-grade controls.