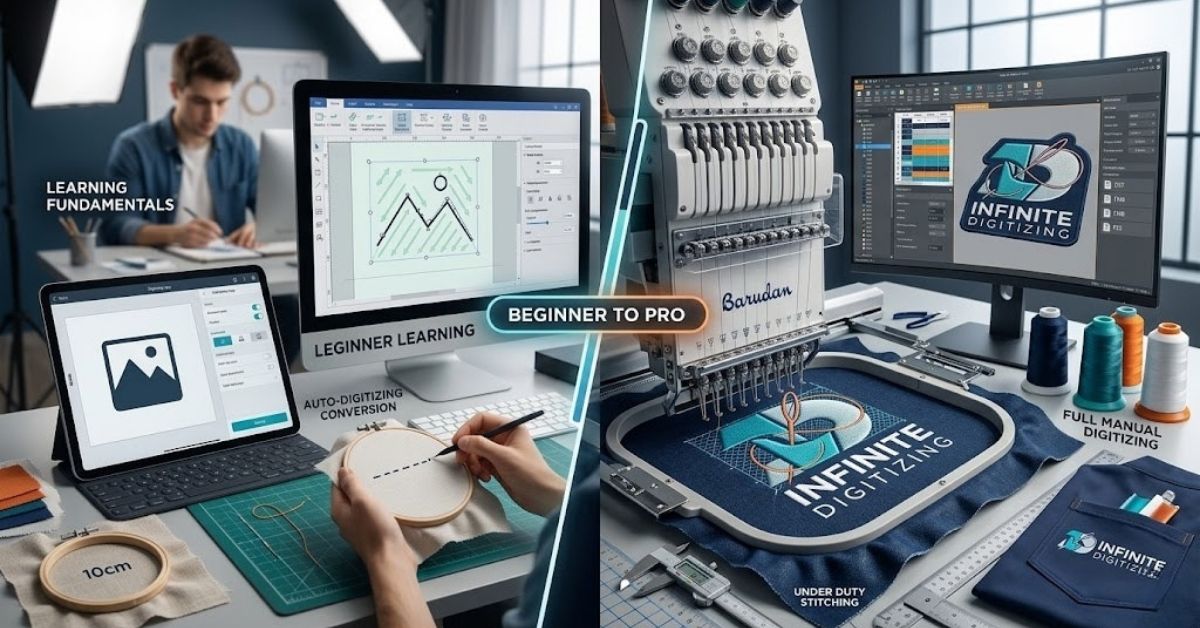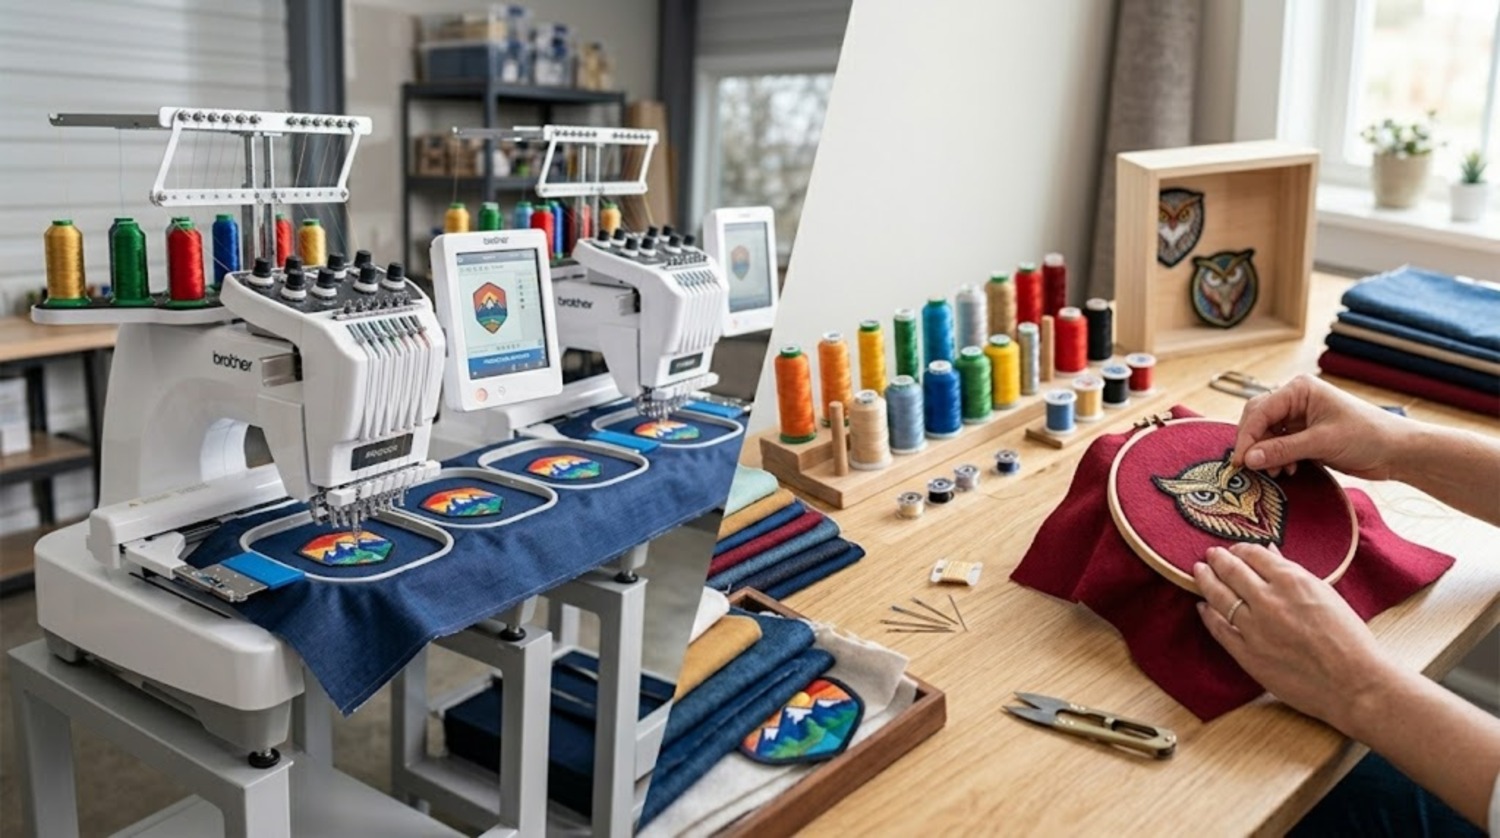
Working with expert embroidery digitizing services guarantees perfect results. A large needle can cause the material to shift when it passes through it due to the force exerted by the needle, creating spaces or unaligned areas. Master digitizers predict this movement, building defensive tolerance directly into digital files to keep logos perfectly aligned and ensure smooth, highly profitable production runs.
What Is Push and Pull Compensation?
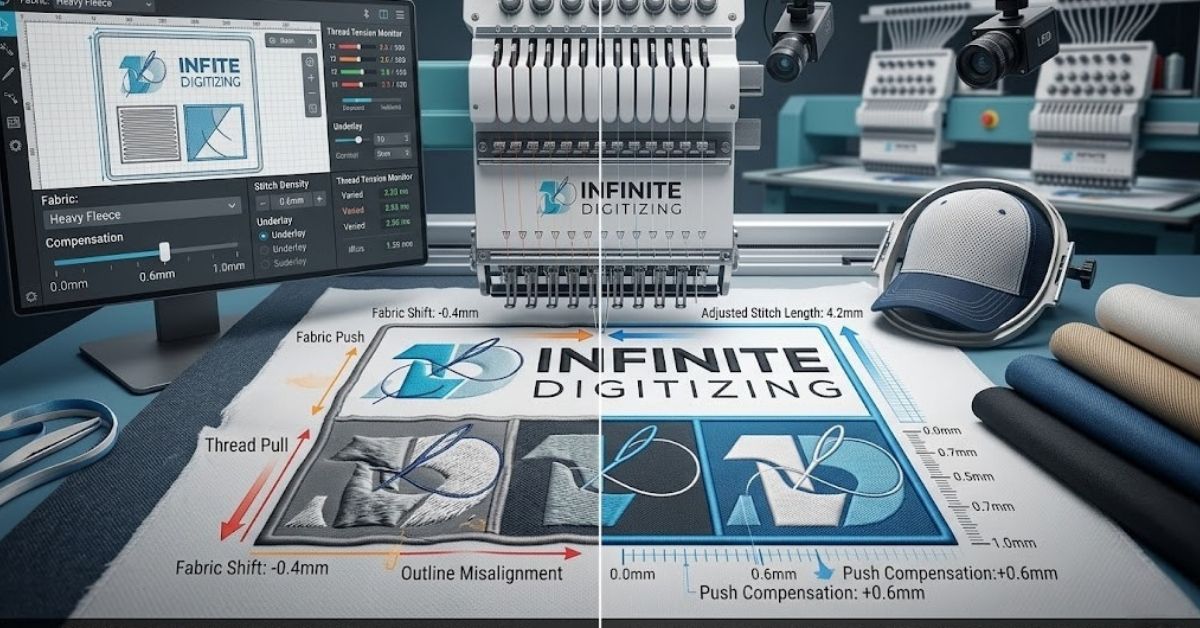
The push and pull compensation method is one way that embroiderers can balance their stitches so that the design remains unchanged in both size and shape, regardless of any movement that occurs in the fabric during stitching.
- Pull: Pulling of the material on the line where the stitches have been done makes the design appear small or thinner.
- Push: Stretching of the material in the direction away from the stitch line causes some portions of the design to appear larger.
Such manual alterations must be done during the digitization process by professional digitizing embroidery services. When everything is sewn up, correction becomes extremely difficult.
Push vs Pull: What’s the Difference?
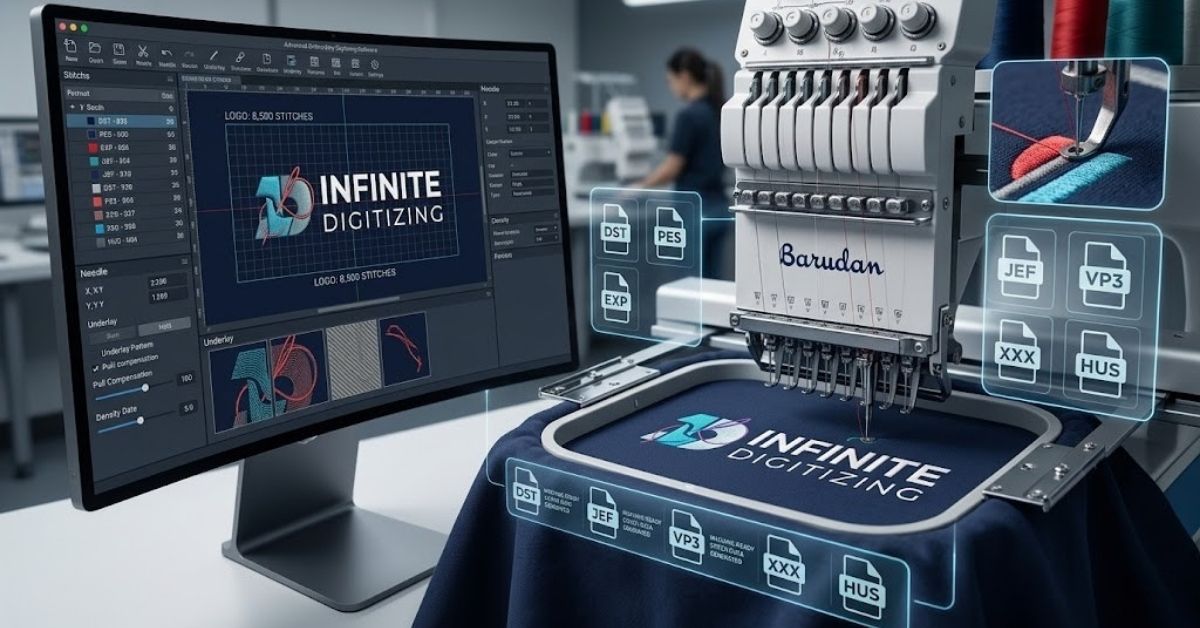
While software defaults try to guess these physical forces, experienced digitizers manipulate them line by line based on the chosen stitch direction.
| Compensation Type | Cause | Effect Without Fix | Fix Applied |
|---|---|---|---|
| Pull | Thread tension along the stitch direction pulls the fabric inward. | Design narrows, shrinks, and creates gaps. | Add width to the stitch path (over-digitize). |
| Push | Fabric bunching and shifting outward perpendicular to stitches. | Design widens, bloats, and distorts outlines. | Reduce the width of the stitch path (under-digitize). |
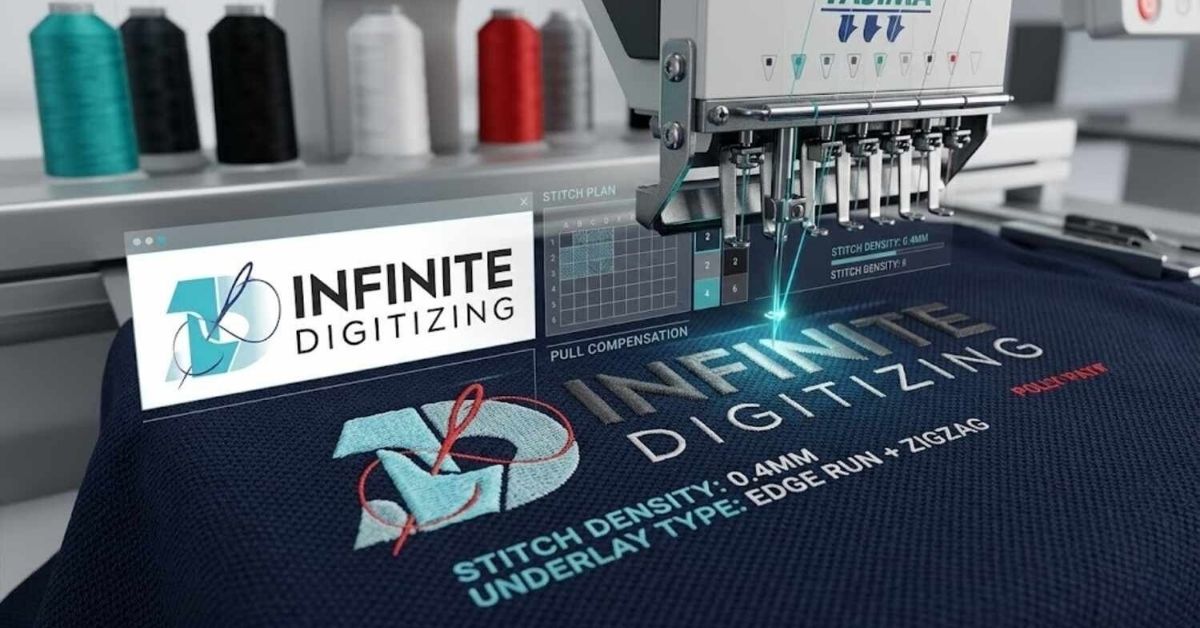
Values usually range from 0.3 mm to 1.0 mm, depending entirely on the project’s parameters, with pull compensation directly impacting satin columns and push compensation affecting large, dense fills.
How Fabric Distortion Affects Your Design
Unchecked fabric distortion can easily ruin an otherwise perfect logo layout. When your software file lacks proper compensation values, your production machine will sew highly visible defects into your items. Top-tier digitizing embroidery services know how to handle these variables.
- Visual Edge Errors: Distortion displays as messy gaps between color blocks, warped text lettering, and misaligned outer borders.
- Hooping Stress Factors: Pulling or over-stretching your garment during hooping multiplies background shifts during sewing.
- Unstable Materials: Pliable knits, high-pile fleece, and performance athletic wear distort easily and require higher software compensation.
- Stable Materials: Tightly woven fabrics like cotton canvas and heavy twill resist shifting, allowing your chosen best embroidery digitizing service provider to apply lower compensation values.
The Role of Stitch Direction in Compensation
Your chosen stitch direction dictates exactly how and where your design will shift under production tension. A master digitizer tracks every directional angle across your entire graphic canvas to provide the best embroidery digitizing service.
- Axial Shift Layout: The angle of your thread determines which side of your design experiences pull forces and which side deals with push forces.
- Horizontal Tension Paths: Stitches running horizontally pull your fabric inward from the left and right, requiring horizontal width adjustments.
- Angle Transitions: Shifting your stitch angle mid-design requires targeted, object-by-object adjustment changes to protect your design boundaries.
- Manual Vector Mapping: Industry specialists at elite digitizing embroidery services map out directional paths before applying compensation values, whereas automated converters often skip this step entirely.
Compensation Settings by Fabric Type
Different textiles respond uniquely to needle impacts. Experienced digitizing embroidery services use these standard baseline values to achieve clean, crisp results:
| Fabric | Recommended Pull Compensation | Notes |
|---|---|---|
| Twill / Woven Cotton | 0.3 – 0.4 mm | Highly stable; requires minimal digital compensation. |
| Fleece / Performance Knits | 0.6 – 0.8 mm | High natural elasticity; requires strict hooping and wider paths. |
| Pique / Toweling | 0.8 – 1.0 mm | Dense pile creates heavy pushing; requires strong underlay support. |
| Caps / Structured Panels | 0.4 – 0.5 mm | Curved surfaces add registration complexity; requires center-out paths. |
Common Mistakes (And How Experts Fix Them)
Avoiding these three common software errors separates amateur work from commercial-grade quality:
Mistake 1: Relying on Global Settings: Applying a flat compensation percentage causes thin text to bloat and large fills to gap.
- The Fix: Apply custom, object-by-object values to every element.
Mistake 2: Ignoring Intersecting Stitch Directions: When a vertical fill meets a horizontal satin border, they pull against each other.
- The Fix: Program direction-aware compensation mapping to keep borders locked in place.
Mistake 3: Skipping Physical Testing: Relying solely on software on-screen previews without running physical machine tests.
- The Fix: Run actual sew-out quality control on matching fabric before final delivery.
Why Professional Digitizing Gets Compensation Right Every Time
Achieving consistent embroidery results requires deep, real-world knowledge of how different fabrics behave under an embroidery needle. Software automation alone cannot replicate the skill of a human digitizer.
- True Material Understanding: Manual calibration requires predicting fabric behavior across different textiles, an area where basic automated conversion software fails.
- Custom File Planning: Infinite Digitizing builds every design around your target fabric, hoop choice, fill density, and thread weight.
- Clean Operational Success: Our custom files eliminate outline separation and edge gaps, saving you time and reducing fabric waste.
- A Dedicated Production Partner: Working with the best embroidery digitizing service ensures your business gets high-quality, production-ready files tailored to your machinery.
Conclusion
Getting push and pull compensation right helps avoid expensive mistakes and registration issues on the factory floor. With experienced digitizers who tailor your design to various materials, you ensure high-quality products, fast production, and accurate embroidery each time. Utilizing the best embroidery digitizing service is ultimately the key to reliable, repeatable success.
Infinite Digitizing eliminates costly alignment errors by manually mapping exact push and pull compensation for flawless results.
FAQs
1. What is push and pull compensation in embroidery?
It is adjusting stitch dimensions to offset fabric shifting, shrinking, and stretching during the embroidery process.
2. What does increasing pull and push compensation do?
It widens stitch paths to counter thread pull and shrinks paths to counter fabric push.
3. What should my pull compensation be?
It ranges from 0.3 mm for stable twill to 1.0 mm for thick, stretchy fabrics.
4. How to fix pulled embroidery?
You must re-digitize the file by manually widening the object outlines along the stitch direction.
5. What are common tension mistakes?
Relying on software defaults, using loose hooping techniques, and skipping physical test sew-outs on fabric.