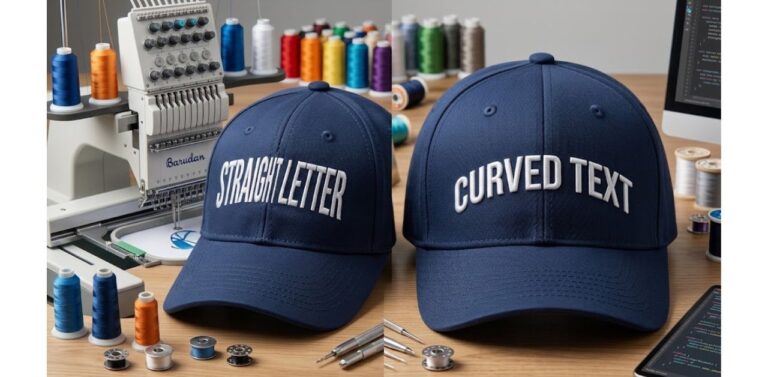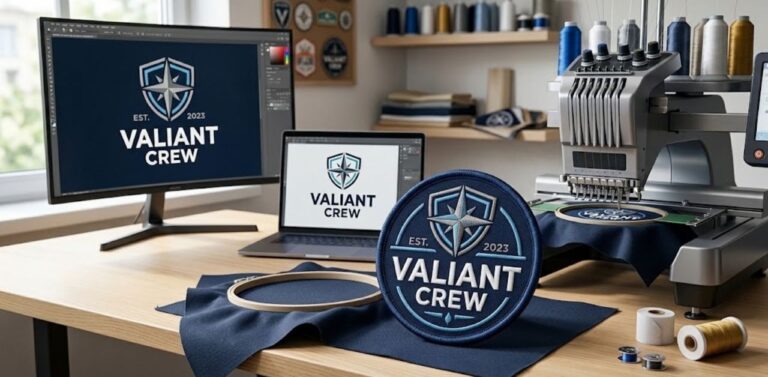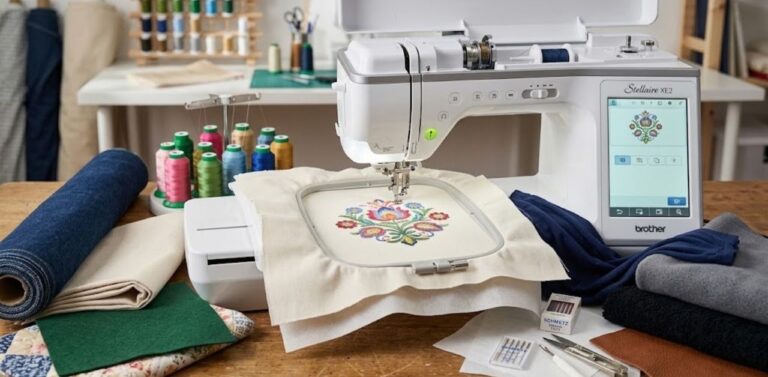
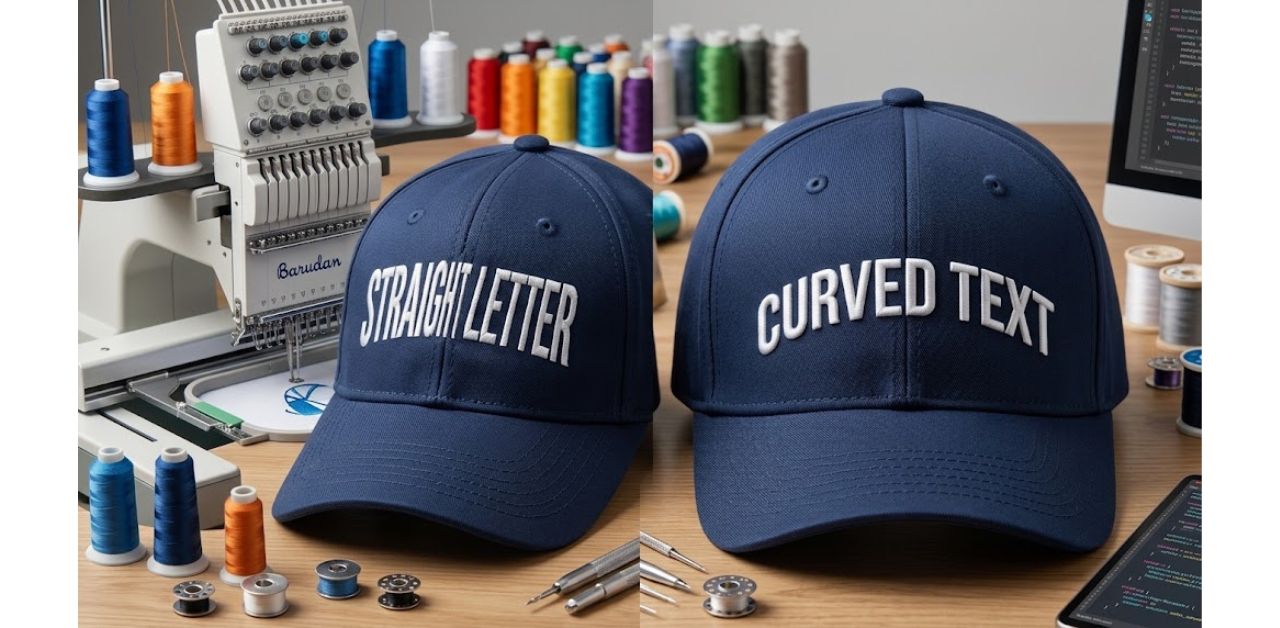
You got perfect lettering drawn on a flat design screen; however, the cap has a curve and seams to it and fits tightly on a specific hoop. When working with cap embroidery digitizing, the flat artwork needs to be changed somehow. Embroidery lettering has physical limits when forced over rounded panels. By the end of this guide, you will understand why flat lettering warps during production and how our team at Infinite Digitizing builds files that sew crisp every single time.
Why Straight Letters Don’t Just Bend on a Cap
Flat software tools assume your fabric sits on a flat plane. A hat is precisely the opposite. Since cap hoops hold tightly to the material surrounding the sweatband area, stability is greatest at the brim and least at the crown’s very top.
- Fabric moves and distorts inconsistently as the needle goes through.
- Text that appears impeccable onscreen will often go out of registration when the cap is printed physically.
- Seams form valleys which can absorb the stitches if proper stitch density isn’t considered.
Mastering cap digitizing is ultimately an engineering decision, not a simple artwork warping effect.
Know Your Cap First: Structured, Unstructured, Profile
Each hat is different according to its design. The structured caps will have buckram backing at the front panels for support, whereas an unstructured hat will be floppy and shift around.
- Profile Height: Low, medium, or high profiles will tell you how much height your letters can have safely.
- The Stretching Trap: Force-fitting a huge design on a low-profile cap will stretch the material beyond its capacity near the sewing area, and this will spoil the registration.
- Hooping Dynamics: Flat hoops allow for equal tension, but cap frames have curvature constraints.
Considering these constraints before placing any nodes is vital for hat digitizing to avoid production mistakes that will cost a lot of money.
Digitizing Curved Text Over the Center Seam
Center-seam placement is the standard approach for front cap text, but it introduces unique challenges. When executing advanced cap embroidery digitizing, sequence matters immensely.
- Center-Outward Sewing: Always program your lettering to stitch outward from the center. This pushes excess fabric away from the vertical seam and smooths out the crown.
- Manual Center-Run Underlay: A manual center-out underlay should be designed to control tie-ins, anchor fabric to the stabilizer, and keep satin columns sharp.
- Bridging: Stitches should bridge across the seam line without any problems to avoid sinking into the groove.
Cap fabric distorts heavily under needle hits, so proper adjustment is critical. For a deeper dive into this mechanic, read our guide on Push-Pull Compensation.
Panel, Side and Keyhole Placement
Cap text isn’t restricted to the front crown. You can put lettering on the sides, on the back arch, or even over the closure strap, which is called the keyhole region.
- Keyhole Text: Needs to follow the curve of the keyhole opening without stressing the closure out of alignment.
- Panel Placement: Begin placing your lettering from the center seam towards the side seams.
- Unreinforced Sides: Areas past the front panels have no stiffening; thus, it needs stabilizer anchoring to avoid puckering.
If you are working on bills or visors, check out our tutorial on How to Embroider a Visor. Remember that visor embroidery is typically handled flat before assembly. For reliable hat embroidery digitizing services, account for these panel transitions early.
Stitching Sequence and Underlay for Cap Lettering
The order of operations dictates whether your cap lettering looks professional or messy. In complex cap digitizing, a structured underlay routine is your best friend.
- Center-run underlay for secure tie-in control.
- Edge-run underlay to lock down column boundaries.
- Use zigzag and double zigzag stitches for more fullness.
- Top stitch using satin stitches.
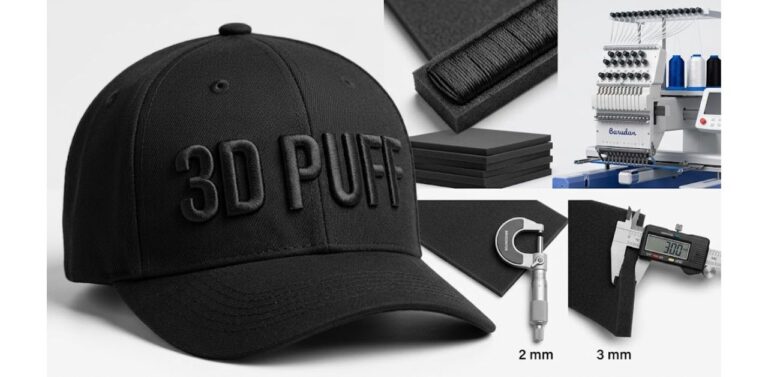
Always do your inside path and outlining of each letter before moving to another part of the design. If you are using 3D puff foam, first sew your flat outlining and then your foam outlines.
Minimum Text Size and Stitch Specs (Cheat Sheet)
| Specification | Recommended Value |
|---|---|
| Minimum Satin Text Height | 5 mm |
| Minimum Satin Column Width | 1 mm |
| Center-Run Underlay Stitch Length | Approximately 1 mm |
| Minimum Outline Width on Fill Letters | 1 mm |
| Sewing Direction | Center Outward |
| 3D Puff Text Order | Outline First, Puff Second |
Front vs Back: Does Arched Text Change?
Front panels feature heavy structure and require specialized cap drivers, making stitch sequence vital. The back panels and unstructured hats, however, can often be hooped flat.
- Tension Differences: Flat hooping on the back provides uniform tension, reducing the risk of dramatic pull distortion.
- Geometry Match: Your arch radius must mimic the actual physical curve of the cap panel rather than flat artwork geometry.
Curious about production timelines? Read our breakdown on How Long Does It Take to Embroider a Hat?. Effective hat digitizing adapts seamlessly to whether the hat is clamped on a curved driver or hooped flat.
Getting Cap Lettering Digitized Professionally
Curved complicated text, small fonts, and 3D puff effects may test your home embroidery machine to its fullest. When working on large-scale projects and complex retail items, getting your files done professionally will save time and thread wastage.
When you send files to your digitizer, you should mention the precise cap, its profile height, placement, and how to hoop it. As a reliable digitizer providing high-quality cap embroidery digitizing services, Infinite Digitizing offers you high-quality production-ready files based on your machine’s specifications. Searching for reliable cap digitizing services in the USA? Let us convert your flat ideas into perfectly embroidered artwork.
Final Takeaways
Successful digitization of curved text for caps involves an awareness of physical factors such as fabric stretching, seams, and hooping mechanics. Through the correct use of sequencing, underlay, and special considerations, distortion is avoided. Working with experienced digitizers guarantees that your hat designs stitch perfectly every single time.
Infinite Digitizing transforms flat concepts into pristine cap embroidery through precise curve engineering and seam-aware stitch paths.
FAQs
1. How do you digitize curved text for a cap?
A: Build letters to match the cap’s contour, sew center-outward, use a manual center-run underlay, and align text height with the cap’s profile.
2. Why does straight text look crooked on a hat?
A: Caps curve and shift under hoop tension. Flat lettering lacks compensation for this physical distortion, causing drift and sunken seams.
3. What stitching sequence works best for cap lettering?
A: Start with center-run and edge-run underlays, add a zigzag for loft, finish with top satin, and sew center-outward to maintain fabric stability.
4. What is the minimum text size for cap embroidery?
A: Keep satin text at least 5 mm tall with column widths no thinner than 1 mm to prevent illegible lettering.
5. Should arched text be digitized differently for the front and back of a cap?
A: Yes. Structured fronts need careful sequencing in cap hoops, while back panels hooped flat offer even tension where stitch order is more flexible.