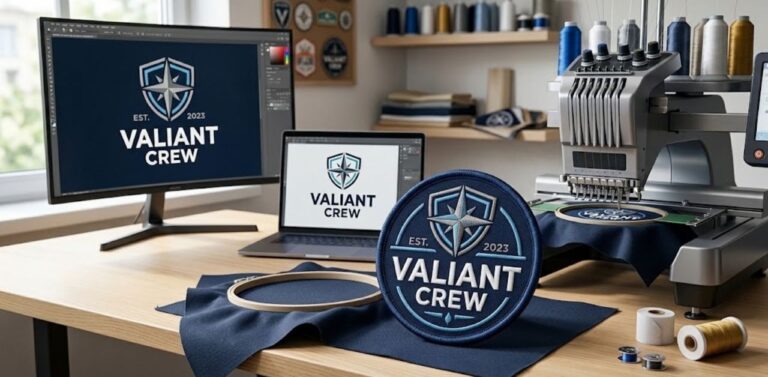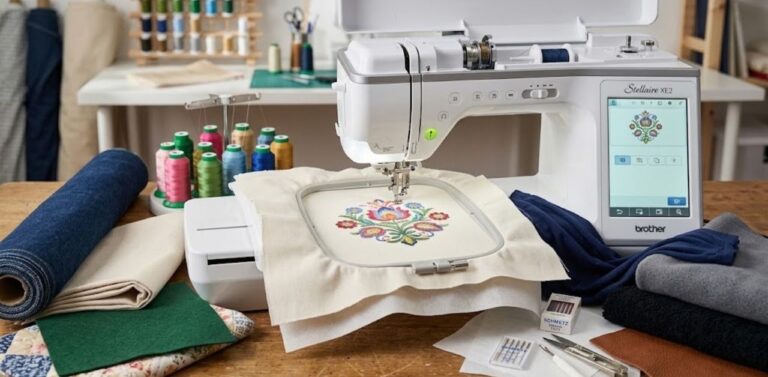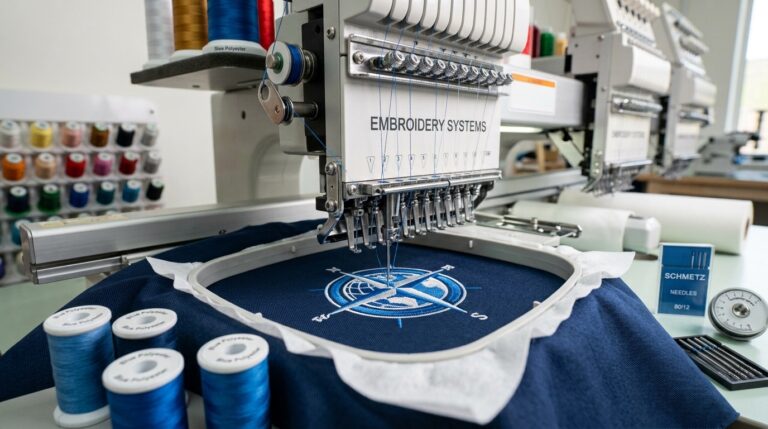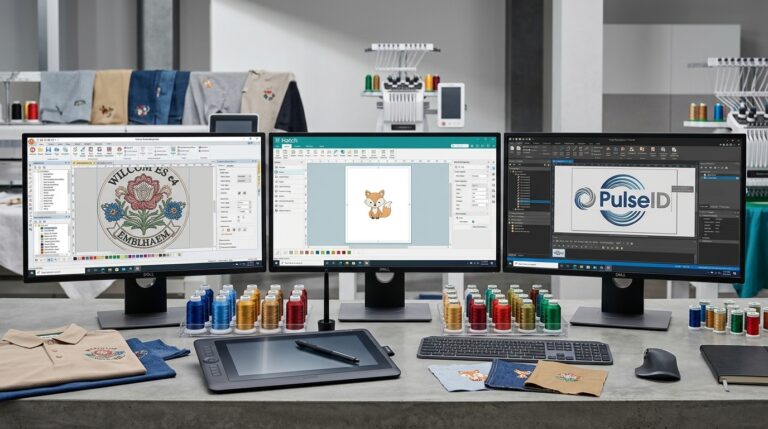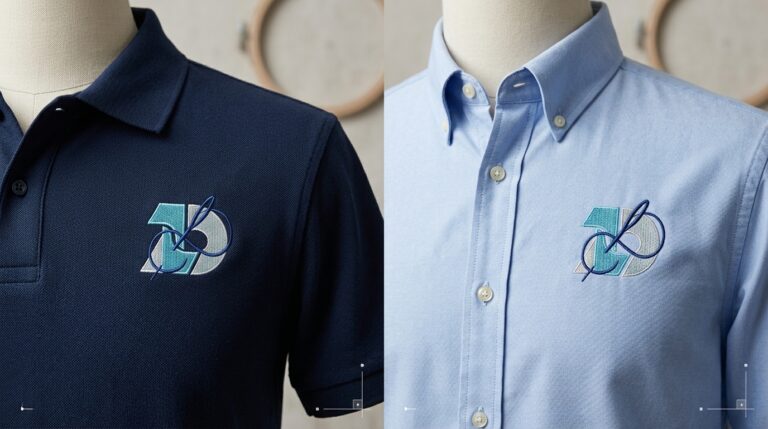
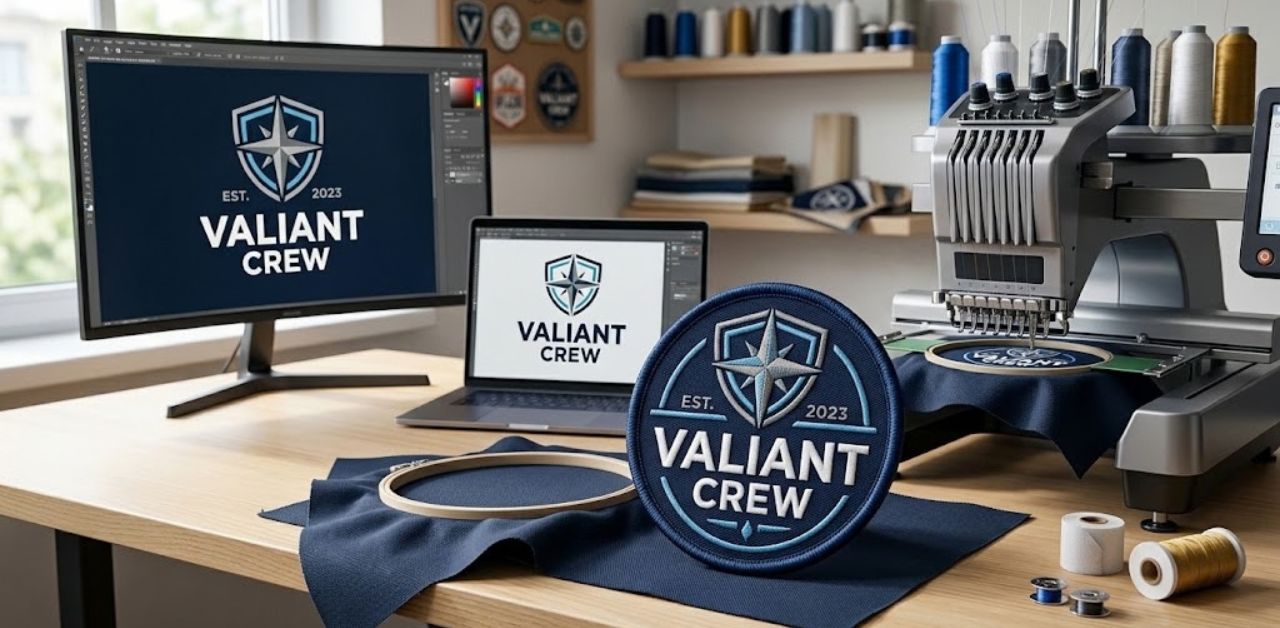
Transforming a digital logo into a custom patch embroidery involves converting the flat images into stitches. As thread is used instead of ink, complicated details, small fonts, and delicate colors should be appropriately adjusted. With the help of vector artwork, good materials, and efficient digitizing, you can achieve the goal of having a great, durable, and professional patch.
What Does It Mean to Convert a Logo Into a Patch?
Converting a standard logo to a patch is not simply about printing an image on cloth; rather, it is a translation process.
- The Translation Challenge: Logo-to-patch translation is the task of converting pixels or vectors into hard mechanical instructions about where the needle needs to move and when.
- Why a JPG Isn’t Enough: Embroidery machines do not understand JPG and PNG files and need a special type of machine language for the needle movements and thread locking.
- The Digitizer’s Role: This is where expert patch digitizing bridges the gap, taking your raw artwork, re-engineering it for textile tension, and creating a stitch-ready file.
To explore the foundational mechanics of machine translation, take a look at our breakdown on how to digitize a logo for embroidery.
Step-by-Step: Logo Conversion Process at a Glance
| Step | Task | Output | Who Does It |
|---|---|---|---|
| 1 | Prepare artwork | Vector or high-res logo | You |
| 2 | Choose type, size, shape | Patch spec | You + team |
| 3 | Simplify and match colors | Approved thread palette | Digitizer |
| 4 | Digitize | Stitch file | Digitizer |
| 5 | Border, backing, finish | Production spec | You + team |
| 6 | Proof and sample | Approved sample | You |
From digital concept to physical emblem, every stage ensures your brand translates cleanly onto fabric.
Step 1: Prepare Your Logo Artwork
Before any production begins, your artwork file needs to be clean. The condition of your artwork when sent to Infinite Digitizing in AI, EPS, SVG, PNG, or PDF file will impact the quality of your final patch.
- Vector Preference: Always try to submit vector files (AI, EPS, SVG). These formats can be scaled up or down and remain in high quality. If you don’t have vector formats but just an image file, make sure it is a clean PNG or JPG in 300DPI or more.
- De-cluttering Details: Eliminate elaborate shadows, soft color gradations, and fine lines, which simply can’t be duplicated by thread.
- Text and Line Minimums: Keep in mind the minimum line widths and text sizes that should be considered. In general, anything less than 3 mm high may end up being illegible when embroidered.
After your base art file has been prepared and tidied up, you move to the next step, which involves picking out how the badge will be structured physically.
Step 2: Choose Patch Type, Size, and Shape
Using the services of an expert embroidery patch maker assists in making this determination.
- Material Options: Choose from classic embroidered textures, ultra-detailed woven styles, chenille, PVC, or supple leather [only detail those Infinite Digitizing offers].
- Scale and Proportion: Remember that a patch size affects how much detail you can comfortably fit. Smaller formats require bolder, simplified shapes.
- Geometric Cuts: Choose between a standard round cut, square cut, shield cut, or custom die-cut cut that will best frame your design.
With your patch’s physical specifications determined, you can move on to refine the graphic elements and colors.
Step 3: Simplify Details and Match Thread Colors
When converting the digital image into an actual thread image, there will be certain artistic compromises to make.
- Color Reduction: Reduce your color palette down to a smaller number of colors that match available thread colors.
- Handling Gradients: Convert smooth digital gradients into solid color blocks or clever fill patterns that simulate depth through stitch direction.
- Thread Chart Alignment: Map out Pantone colors to physical thread charts to guarantee brand consistency.
- Typography Adjustments: Adjust tiny or overly decorative fonts to a cleaner, bolder typeface that holds its form under tension.
With your colors streamlined and elements optimized for thread, the artwork is finally ready for technical stitch programming.
Step 4: Digitize the Logo for Stitching
After getting approval for the artwork, the technical aspects of custom patch embroidery kick in.
- Stitch Types in Play: Satin stitches make sharp outlines and text, fill stitches make large background areas, and running stitches take care of fine details.
- Managing Tension: Density, underlay, and compensation for stretching are all critical steps since patches need more stability than other types of items.
- Sequence Engineering: The machine builds the patch from the ground up: background fills first, followed by interior details, and finished with the outer border last.
- Pre-Production Testing: Expert digitizers run software simulations and test sew-outs to catch minor alignment errors before mass production begins.
Now that the digital stitch file has been precisely engineered, it is time to choose how your patch will be edged and attached to garments.
Step 5: Select Border, Backing, and Finish
The final choice will determine how good your custom embroidered patches look on clothes and how durable they are.
- Border Choices: Select your preferred merrowing border for its crisp round edges or laser/hot cutting borders for custom shapes.
- Backing Options: The kind of backing to use depends on your application: iron-on for retail use, sewn for tough workwear, Velcro for military and tactical applications, or adhesive for short-term uses.
- Application Fit: Think about where the patch is going to be used – hats, jackets, backpacks, or sleeves to determine the most appropriate kind of backing.
Once you’ve decided on the borders and backings for your patches, the next step before mass production is checking quality standards.
Step 6: Proof and Sample
Never skip validation. Reviewing proofs protects your investment in custom embroidery patches.
- What to Check: Check the digital proof thoroughly to ensure perfect color matching, spelling, element spacing, and border.
- Physical Prototyping: Ask for a physical prototype for bulk orders to examine how the patch performs in actual conditions.
- Refining Details: Communicate minor revisions clearly to your digitization team to prevent unnecessary back and forth.
When you’re ready to start your project,
Get a Free Custom Embroidery Patches Quote →Woven vs Embroidered: Which Suits Your Logo?
Selection of the correct manufacturing method is purely based on the amount of detail and the texture you want to have on your logo.
| Factor | Embroidered | Woven |
|---|---|---|
| Texture | Raised, dimensional | Flat, smooth |
| Fine detail | Moderate | High |
| Best for | Bold logos, text | Intricate small artwork |
A side-by-side comparison to help you choose the right construction for your specific logo. If you want to explore the nuances of these two styles further, take a look at our detailed guide on woven vs embroidered patches.
Why Use a Professional Digitizing Service in the USA
Relying on automated software to convert complex artwork almost always leads to messy thread breaks, distorted lettering, and puckered fabric. Human digitizers bring an artistic eye and technical precision that software simply cannot replicate.
Infinite Digitizing provides expert custom patch digitizing services in the USA, ensuring clean stitch paths, minimal thread trims, and optimized file formats that run smoothly on commercial machines. To explore our comprehensive approach to custom patch embroidery, browse through our detailed custom embroidery patches.
Conclusion
Changing your digital logo to a custom patch will bridge the gap between your creative design ideas and mechanical embroidery. By using vector artwork, lessening details, and having experienced digitizers, you will end up with an eye-catching and sturdy patch.
Infinite Digitizing combines expert craftsmanship and technical precision to deliver flawless, durable custom patches every time.
FAQs
1. How do you convert a logo into a custom patch design?
A: Clean the artwork, choose your patch style, simplify details, and digitize it into machine stitch files.
2. What file do you need to make an embroidered patch?
A: Vector formats like AI, EPS, or SVG, or a high-resolution raster file (300+ DPI PNG/JPG).
3. Can any logo be turned into a patch?
A: Yes, though intricate gradients and tiny elements must be simplified for thread replication.
4. What border and backing options are available for patches?
A: Borders include merrowed or laser-cut; backings include iron-on, sew-on, Velcro, or adhesive.
5. What is the minimum readable size for a logo on a patch?
A: Lettering should generally be at least 3mm tall to maintain legibility.