Excellent artwork is not the only requirement for professional embroidery. It is very important to learn all the techniques of embroidery digitizing to avoid such problems as puckering, breaking of threads, and registration errors. You can achieve good quality only by perfecting the technique of density, compensation, and sequencing.
Why Embroidery Digitizing Quality Makes or Breaks a Design
The quality of your embroidery machine is dependent on the instructions it is given. If the file preparation is incorrect, even the best artwork will produce a poor stitch-out.
- Common Failures: Puckering, gaps between rows of stitches, distorted lines, and too many thread trims.
- Production Impact: Properly digitized files greatly increase efficiency by limiting thread breakage and reducing manual trims.
- Expert Insight: The artwork file isn’t where the bottleneck lies; it’s the digitizing process that determines everything.
- Quality Assurance: Digitization regularly ensures that the garment meets professional standards and reduces stress on the operator.
Choosing the best embroidery digitizing services for your needs is the very first thing that you need to do if you want to seek professional help.
Understanding Stitch Density (and Why Most Errors Start Here)
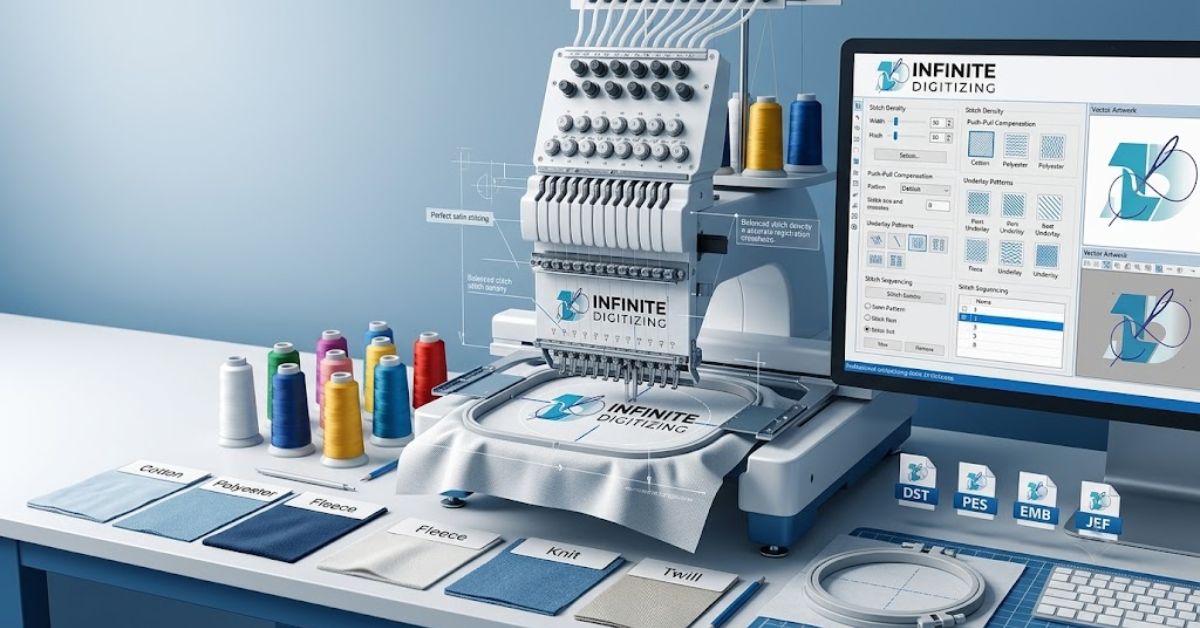
Stitch density refers to the distance between stitches. Close stitch density leads to puckering, whereas loose density causes gaps. Mastering digitizing embroidery means adjusting for every unique fabric.
| Fabric Type | Recommended Stitch Density | Common Mistake |
|---|---|---|
| Cotton twill | 0.40–0.45mm | Too dense, causes puckering |
| Polyester poly-twill | 0.35–0.40mm | Standard density on stretch fabric |
| Fleece/pile fabrics | 0.30–0.35mm (with topping) | Skipping topping, stitches sink |
| Knit/jersey | 0.45–0.50mm | Density too tight, fabric distorts |
Denser fabrics require lower density values, while delicate materials need more spacing. See our guide on causes of missing stitches on an embroidery machine design for troubleshooting tips.
Mastering Push-Pull Compensation for Clean Edges
Fabric naturally moves when the sewing machine needle goes in, making the stitches pull in. Embroidery digitizers use a technique called push-pull compensation to fix this problem by slightly making the edges of the design longer while they are setting it up.
- Precision Alignment: Letters remain sharp, circles stay circular, and registration is perfectly aligned.
- Professional Approach: Never rely on a “universal” percentage; expert digitizers test compensation based on the specific elasticity of the fabric.
- Design Integrity: Proper compensation ensures the final output matches the original mockup without losing shape.
- Fabric Adaptation: Different weaves require varying levels of compensation to remain accurate through the entire embroidery process.
Choosing the Right Underlay for Every Fabric
Underlay forms the vital foundation for your design. It helps keep the fabric stable and ensures that the stitches do not sink into plush fabrics or fabrics like fleece that can simply stretch out.
- Edge-walk: Best for small details and clear, sharp edges.
- Zigzag: Provides necessary structural support for medium-to-large fill areas.
- Center-run: The best choice for narrow columns and delicate lettering.
- Structural Support: The denser the top stitching, the more structural support the underlay must provide to prevent design collapse.
Smart Stitch Sequencing to Cut Trims and Thread Breaks
One of the greatest differences between automated software and manual files from an online embroidery digitizing provider is logical sequencing. Smart sequencing groups colors and nearby elements to shorten the path the needle travels across the garment.
- Reduced Trims: Fewer jumps mean fewer trim commands and significantly shorter machine run-times.
- Fewer Breaks: Efficient, logical paths prevent the tension inconsistencies that lead to thread snaps.
- Production Benefit: A tidy file makes production easier and quicker on the shop floor.
- Machine Efficiency: Proper pathing makes the movement of the needle smooth, decreasing wear on the machinery as well.
Digitizing for Fabric Type and Stretch
Skilled digitizers for embroidery build separate settings per fabric family rather than reusing one file across different products. Stretchy materials need lower density and extra stabilizer allowance, while rigid fabrics handle tighter density better.
- Fabric-Specific Recipes: Adjust density and compensation specifically for jersey vs. canvas.
- Stabilizer Selection: Matching the stabilizer to the stretch level is just as important as the file settings.
- Hooping Consistency: Proper hooping prevents movement that even the best file cannot correct.
- Test Stitching: Always perform a test stitch-out on the actual garment fabric before mass production.
Fixing Pull Compensation and Registration Issues
Registration issues where colors fail to line up correctly usually trace back to hooping tension or unbalanced stitch pull. A dependable embroidery digitizing company builds in registration checks at the file-review stage.
- Hooping Tension: Ensure correct, even tension to prevent design shifting.
- Stability Enhancers: Use cross-hatch or lattice underlay for color-heavy designs.
- Verification Steps: Test-stitch on the actual hoop size to prevent surprises during bulk embroidery digitizing service orders.
- Pull Counter-measures: Use object-level compensation to ensure edges line up perfectly.
Working with the Right File Format for Your Machine
Different machines interpret stitch data in their own way. Whether you use DST, PES, EMB, or JEF, the wrong format can occasionally shift your density or drop underlay settings. Understanding what the best file format for embroidery digitizing is crucial, as native files ensure your machine accurately preserves your density and compensation settings.
- Native File Requests: Always request the native format alongside your machine-specific one for future edits.
- Format Compatibility: Ensure your provider delivers multiple formats by default to avoid production delays.
- Data Integrity: Check that your exported format maintains the integrity of your density and compensation settings.
- Universal Standards: Work with providers who understand the nuances of different machine-readable stitch languages.
When to Use an Online Embroidery Digitizing Service
Automated digitizing software has its purpose for simple logos, but when it comes to working with complex gradients or artwork, or hard fabrics, no machine can match the work of a human. This is critical, especially when dealing with larger quantities.
- Complex Detailing: Complex gradients and textures need experienced manual manipulation that software often fails to perform.
- Bulk Consistency: Make sure that every item in a large order looks the same, no matter how experienced the person making it is.
- Quality Assurance: Infinite Digitizing has a senior technician look at each file before sending it out to make sure it’s of good quality.
- Professional Support: Getting advice from professionals makes sure your designs are ready for making right from the start.
Upload Your Design & Get a Free Quote →
Conclusion
Getting professional digitizing helps your production run smoother and improves the quality of your final product. By using these smart methods, like careful stitch spacing and clear order, you reduce mistakes and increase results. Want to improve your designs? Work with our skilled team to make sure every project is done perfectly.
Experience flawless embroidery with Infinite Digitizing, where expert manual techniques ensure every stitch meets your professional standards.
FAQs
1. How can embroidery digitizing quality be improved?
A: Use manual adjustments for density, compensation, and logical pathing.
2. What are advanced embroidery digitizing techniques?
A: Mastering push-pull compensation, proper underlay selection, and efficient stitch sequencing protocols.
3. Why is pull compensation important?
A: It prevents fabric distortion and keeps design edges sharp during the machine stitching process.
4. How does stitch sequencing affect embroidery?
A: Smart sequencing reduces thread breaks, minimizes unnecessary trims, and optimizes machine run-time efficiency.