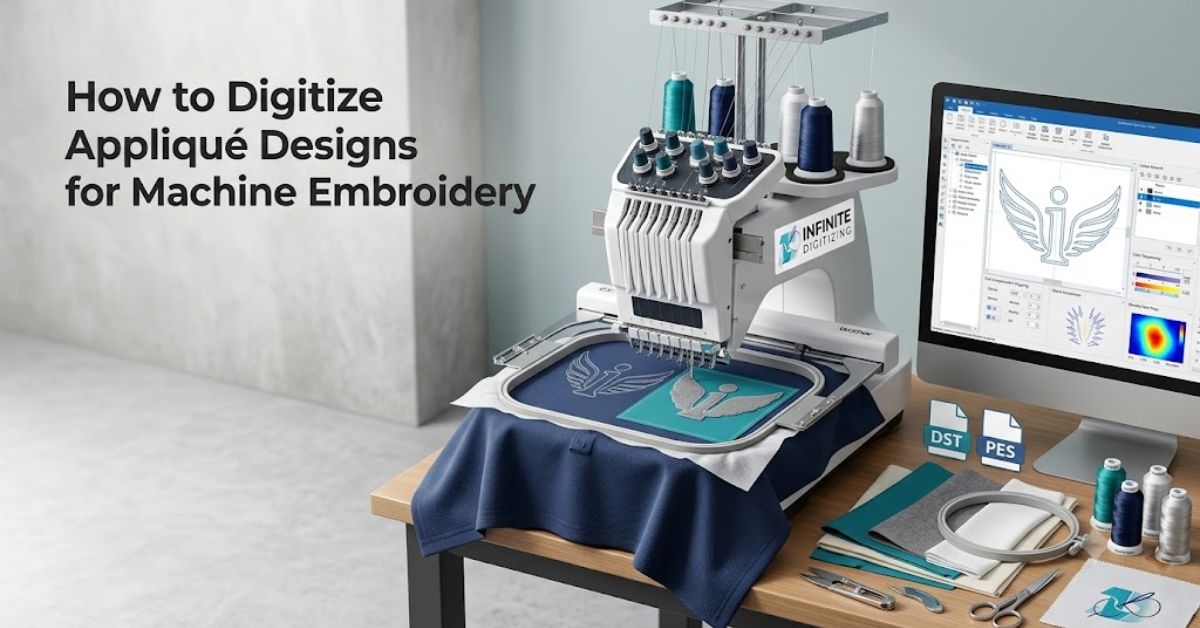
Appliqué is a timeless technique in custom decoration, allowing you to replace dense fill areas with vibrant fabric patches. This method produces a lightweight, professional finish while saving valuable thread. However, success depends on a precise embroidery digitizing foundation to prevent common issues like puckering, fabric shifting,
What Is Appliqué Digitizing (and Why It’s Different)
Applying the appliqué technique in the decoration of garments is a sensible method of using fabric pieces instead of many tight stitches. This will give you a luxurious texture look in your design without wasting the threads.
- Efficient Coverage: Replaces large, heavy fill areas with fabric.
- Ideal Projects: Perfect for varsity letters, team logos, and children’s clothing.
- Unique Sequence: Unlike standard designs, it requires specific pauses for manual fabric trimming.
- Professional Results: Generic auto-digitizing often misses these essential steps, leading to poor results.
For a deeper understanding of the basics, check out our guide on What Is Embroidery Digitizing?.
Before You Start: Preparing Artwork for Machine Embroidery
Before you start digitizing for embroidery, your artwork needs to be ready for the hoop.
- Go Vector: It is always perfect to go for clean vector files (AI, EPS, or SVG). Vectors provide the crisp mathematical lines required for perfect outline placement.
- Simplify the Shape: Don’t use sharp corners that point inward. These are very hard to cut neatly and often cause puckering in finished appliqué work.
- Layering: You should do layering of the artwork at an early stage. You will need layers for placement, tacking down, and final cover stitch.
Knowledge of the Kinds of Stitches in Embroidery will guide you on which kind of border you require for your artwork.
Step-by-Step: How to Digitize Appliqué Designs
Proper embroidery preparation requires a logical flow. When you order through our custom embroidery digitizing services, we follow this four-stage sequence to ensure perfection:
- Placement Stitch: This is a light running stitch that outlines where your fabric should sit. It acts as a guide on your base fabric.
- Tack Down Stitch: After you attach your fabric piece, a second running stitch will keep it firmly in place.
- Trimming: Trim off the excess fabric as close to the tack-down line as possible. Good trimming determines whether your work looks professional or not.
- Cover Stitch: Finally, a border is made utilizing a satin or zigzag stitch. This covers the raw edges of the cut fabric.
The Technical Settings That Make or Break Appliqué
Effective digitizing hinges on specific technical adjustments. Here are the settings that keep your Machine Embroidery projects looking sharp:
| Setting | Recommended Range | Why It Matters |
|---|---|---|
| Pull compensation | 0.2–0.4 mm | Prevents gaps between the fabric edge and the overstitch |
| Underlay | Light zigzag or edge run | Stabilizes the border before the satin/cover pass |
| Stitch direction | Follows the shape contour | Keeps satin edges smooth on curves and corners |
| Fabric type | Cotton, twill, felt, poly | Determines tack-down and cover stitch density |
Skipping underlay or failing to set proper pull compensation is the #1 reason applique borders look “gappy” or loose.
Manual vs. Automated Digitizing for Appliqué
Many beginners rely on automated software to generate applique files, but this often leads to frustration. Auto-digitizing tools lack the “eye” needed to identify potential structural issues.
- The AI Limitation: Automated tools often miscalculate fabric behavior around curves, leading to messy borders.
- The Manual Advantage: A professional custom embroidery digitizing service manually adjusts stitch angles and pull compensation for every design.
- First Time Results: Digits created by hand work perfectly well on the machine for the first time and will save you both money and effort in test outs.
Common Mistakes to Avoid
Even professionals fail in their tasks when they forget about the basic things. While using the online embroidery digitizing service, we come across these mistakes:
- Tiny Details: Avoid putting fine, small elements inside an applique area; they usually get lost or ruined during the trimming phase.
- Skipping Tack-Down: Never skip this step to save time. Without it, your fabric will shift during trimming, ruining your alignment.
- Density Overkill: If the cover stitch is too dense, it will pull the fabric and cause the garment to pucker.
- Ignoring Stretch: Knits behave differently from heavy twill. Always account for the elasticity of your base fabric.
Why Custom Embroidery Digitizing Services Beat DIY Software
For businesses that need steady quality, like when you design uniforms for a sports team or make products for a brand, getting the details right is important.
- Expert Review: A person who converts files into digital format looks at the file like a machine worker would. We find problems that a computer program can’t detect.
- Speed and Volume: When you have a stack of fifty garments, you cannot afford to have files that pucker or shift. Professional custom embroidery digitizing ensures your production line moves fast.
- Custom Revisions: Algorithms are rigid, but our team is flexible. If you need changes for a certain fabric or a different border size, we can customize the file to fit your exact needs.
When you pick a specialized custom embroidery digitizing services online, you are ensuring that your machines work well and that your final products look great.
Order Custom Embroidery Digitizing with Infinite Digitizing →
Conclusion
Being proficient at appliqué requires both accuracy and practical knowledge. By concentrating on the right order, preparing artwork properly, and using professional settings, you will guarantee that your designs stay neat and robust. When accuracy matters, turning to a professional makes difficult appliqué work a smooth process of producing quality items.
Elevate your brand with Infinite Digitizing, where expert manual precision ensures seamless, high-quality appliqué designs every single time.
FAQs
1. What is appliqué embroidery digitizing?
A: It is the process of creating files for fabric patches instead of dense, all-thread designs.
2. How do you digitize appliqué designs?
A: You create sequences for placement, tack-down, trimming, and a final cover stitch for durability.
3. What stitches are used in appliqué embroidery?
A: Standard designs use running stitches for placement and satin or zigzag stitches for the border.
4. Why is appliqué digitizing different from standard embroidery?
A: It requires specific machine stops to allow for manual fabric trimming during the stitching process.