Welcome to the best beginner’s guide for embroidery digitizing services. If you own a print shop, create clothes, or design your own brand, knowing how digital designs turn into real products is the key to growing your business and avoiding expensive machine problems. Let’s look closely at how modern digitizing works.
What Is Embroidery Digitizing?
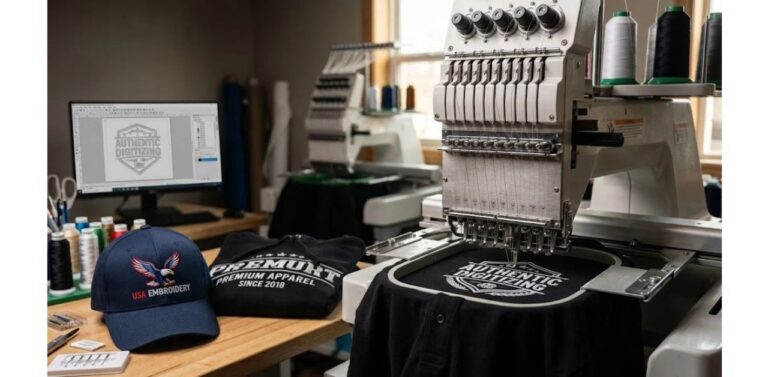
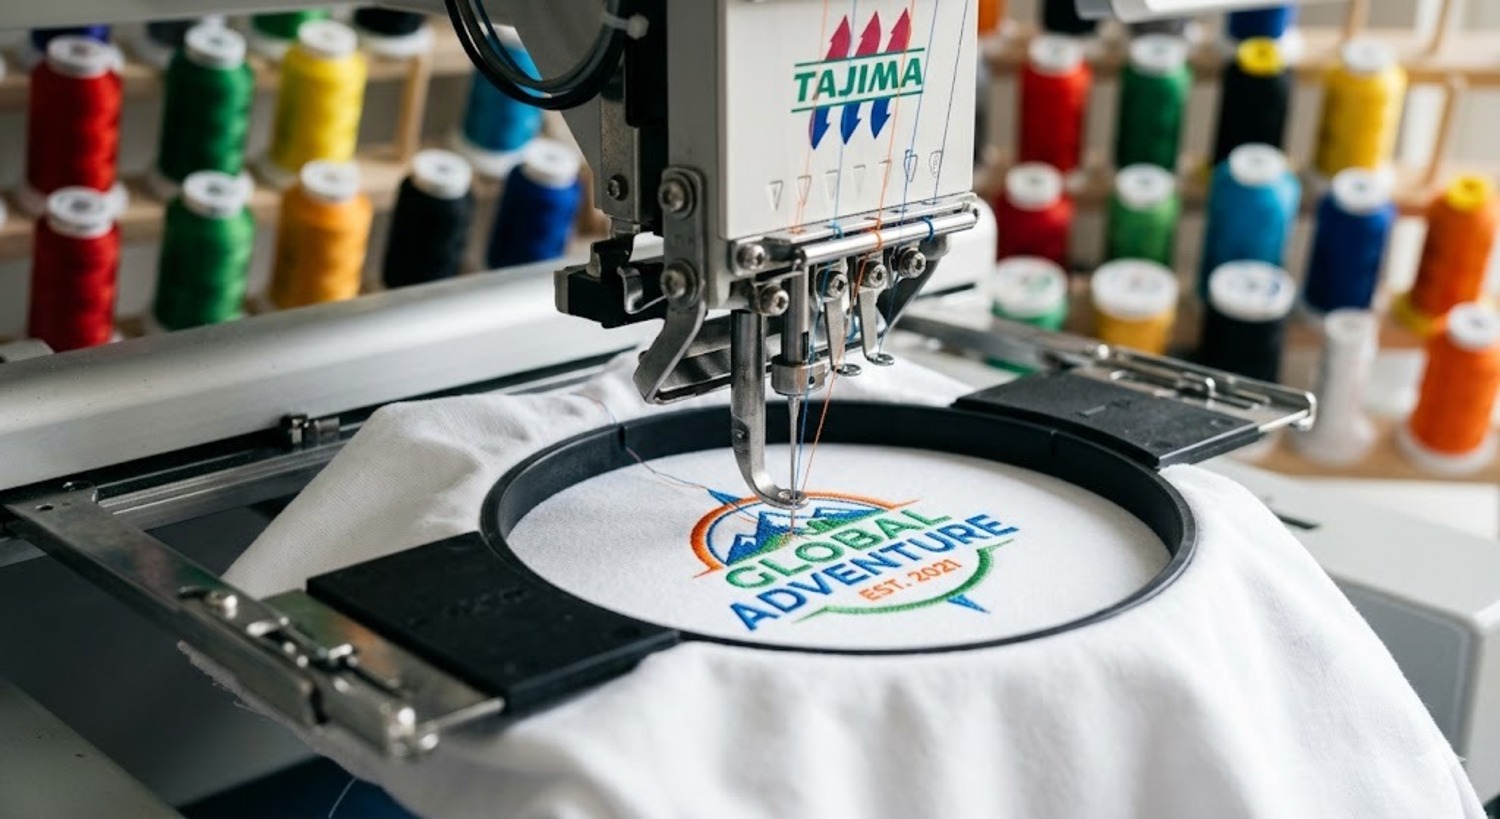
Using a high-quality embroidery digitizing service is an important step that connects a digital design to a real embroidered item. Embroidery machines can’t understand regular JPEG or PNG files because these types of images are just made up of flat pixels. Industrial machines need certain directions to work properly, so special digitizing services for embroidery are important.
Working with an expert embroidery digitizing service transforms your designs safely:
- Converts pixels to paths: Translates raw shapes into clear, coordinate-based directional commands for the needle.
- Adds real-time adjustments: Includes considerations on the stretching and shifting of fabric due to mechanical tension at high speed.
- Protects garment quality: Ensures that no puckering of fabric or tangling of threads occurs.
Manual pathing in professional platforms like Wilcom Embroidery Studio beats cheap auto-digitizing software every time. Human digitizers map paths logically to prevent ugly thread buildups and needle breaks.
How the Digitizing Process Works: Step by Step
Understanding how raw art transforms into a flawless physical sew-out helps prevent costly structural mistakes on production floors. Here is the exact breakdown of how professional digitizing services for embroidery construct a production-ready file:
Step 1: Artwork Preparation & Analysis
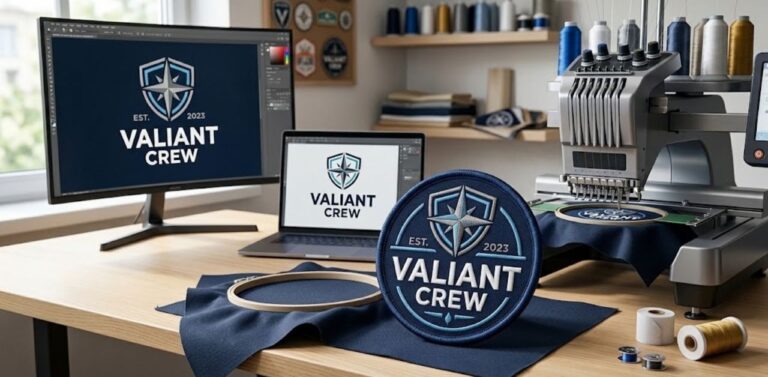
The digitizer imports your graphic into the software environment to evaluate how fine details and typography will translate onto a physical garment.
Step 2: Pathing and Mapping
Using Wilcom Embroidery Studio, the technician manually plots the sequence of the design from start to finish to minimize jump stitches and prevent bird-nesting.
Step 3: Assigning Stitch Densities
The digitizer assigns specialized stitch types, such as Satin stitches for crisp lettering and Fill stitches for large backgrounds, setting the exact stitch density needed.
Step 4: Underlay Placement
Before top stitches are applied, an underlay structure anchors the stabilizer to the fabric. The technician applies push-and-pull compensation so parts line up perfectly under thread tension.
Step 5: Format Exportation
The finished blueprint is translated into the specific code format demanded by your machinery (like Tajima’s DST or Brother’s PES) with a standard 6 to 8 hour turnaround.
Key File Formats: DST, PES, and More Explained
Matching your design extension to your machinery brand is a core requirement of embroidery digitizing. Industrial facilities run on completely different file networks than smaller domestic home setups.
Our essential format reference directory covers the major options used across the garment decoration industry:
- DST File Format: The universal industrial standard built for commercial Tajima and Barudan machinery networks.
- PES File Format: The primary consumer format used for Brother, Babylock, and domestic Bernina machines.
- EMB Working Format: The native working file extension used inside Wilcom Embroidery Studio for editing.
- JEF Design Format: The manufacturer format required for operating home-style Janome sewing equipment.
- EXP Machine Format: The processing file extension utilized by Melco, Bravo, and commercial Bernina gear.
Infinite Digitizing provides your completed projects in all major formats simultaneously, giving you total system flexibility.
What Is Stitch Density and Why Does It Matter
Managing stitch density dictates whether your custom design sews smoothly or causes a total machine jam. In modern embroidery digitizing, density measures how tightly your thread rows sit next to each other. Top-tier embroidery digitizing service adjusts these levels based on your chosen fabric.
Incorrect density choices quickly cause massive errors on a live commercial production floor:
- Heavy fabric puckering: Overly tight stitch structures pull lighter fabrics inward, leaving wrinkles.
- Sudden needle snapping: Jamming too many stitches into one spot forces needles to strike steel and break.
- Stiff, uncomfortable logos: Dense stitching turns a flexible knit polo shirt layout into a rigid patch.
- Garment tearing: High needle counts can slice through fragile athletic mesh, blowing holes in garments.
Our team analyzes your garment types upfront to engineer ideal density settings directly into your production files.
Can You DIY Digitize or Should You Use a Service?
Learning professional software like Hatch or Wilcom takes months of daily practice. Outsourcing your graphics to the best embroidery digitizing service protects your shop floor from expensive production errors.
Partnering with professional teams streamlines your decoration business:
- Eliminates garment waste: Protects your high-end blanks and premium hats from sewing errors.
- Maintains machine schedules: Avoids sudden thread breaks that halt your commercial production lines.
- Keeps text completely legible: Makes sure small letters stay clear and don’t blend.
- Lowers overhead costs: Stops the need to buy expensive software licenses or updates.
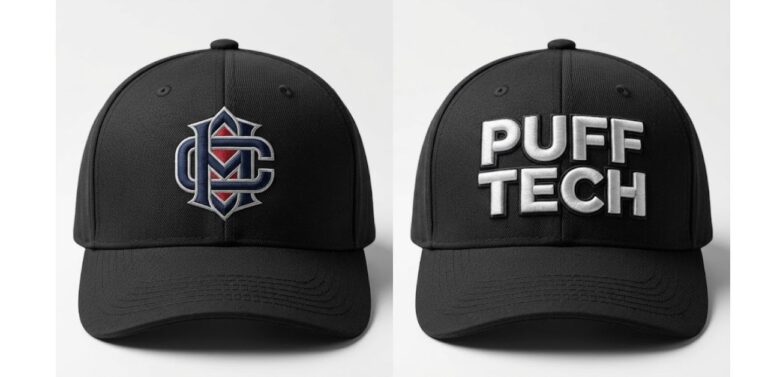
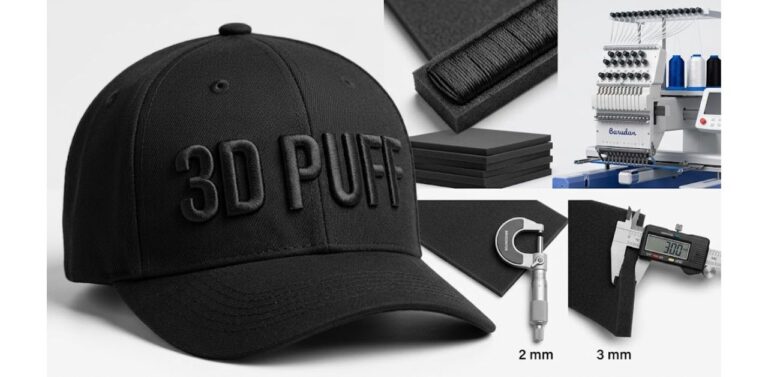
When you sew for businesses, make 3D puff hats, or work on complex designs, having professional digitizing services for embroidery can save a lot of time when the machines are not working.
What Makes the Best Embroidery Digitizing Service?
To find the best embroidery digitizing service, you should look at how well they actually do their job instead of just believing their advertisements. Your digital design partner must show deep technical mastery across tricky fabrics like caps and fleece.
Always look for these features when choosing digitizing services for embroidery for your business:
- Fast Delivery Speeds: Real experts provide 6 to 8 hour turnaround to keep your machines running smoothly.
- Free Revision Protection: Look for companies that provide open design adjustments until your file sews perfectly.
- Premium Software Standards: Make sure the provider can work directly with main programs like Wilcom Embroidery Studio.
- Clear Flat-Rate Pricing: No hidden fees or complicated charges for stitch counts that make budgeting hard.
Why Infinite Digitizing Is Trusted Across the USA
Infinite Digitizing supplies premium, manual embroidery digitizing service to industrial uniform plants, local print shops, and indie brands across America. We refuse to use cheap auto-digitizing shortcuts, choosing instead to path every single layout manually.
Our nationwide supply infrastructure guarantees several business benefits:
- Proven Field Reliability: Over 1,000 corporate print and embroidery clients trust our production files.
- Wilcom Studio Mastery: Every file is built inside the premium Wilcom Embroidery Studio software.
- Universal Format Support: You get the DST file format, PES file format, and working files with every order.
- Full Design Versatility: Our digitizers specialize in left-chest logos, 3D puff hats, big jacket backs, and custom appliqué.
Our customer support team in the USA works during your hours to make sure your machines run well, and you don’t have to worry as a premier best embroidery digitizing service.
Conclusion
Understanding how digitizing works will assist you in transforming your designs into durable and professional clothes by avoiding the use of software tricks and employing manual digitizers to save your equipment and avoid wastage during production. Ready to make your brand better? Get started by contacting the team at Infinite Digitizing.
FAQs
1. What is an embroidery digitizing service?
A: It is the manual process of converting digital artwork into machine-readable stitch files for automatic embroidery.
2. How much to charge for embroidery digitizing?
A: Services typically charge a flat rate of $10 to $30, or a variable rate per 1,000 stitches.
3. What is the best program to digitize embroidery?
A: Wilcom Embroidery Studio is universally recognized as the absolute industry standard platform for professional manual digitizing.
4. Can I digitize my own logo for embroidery?
A: Yes, but manual digitizing requires specialized commercial software and extensive training to avoid costly production errors.
5. What logo format is best for embroidery?
A: High-resolution vector files like EPS, SVG, or AI are ideal for digitizers to reference and map.