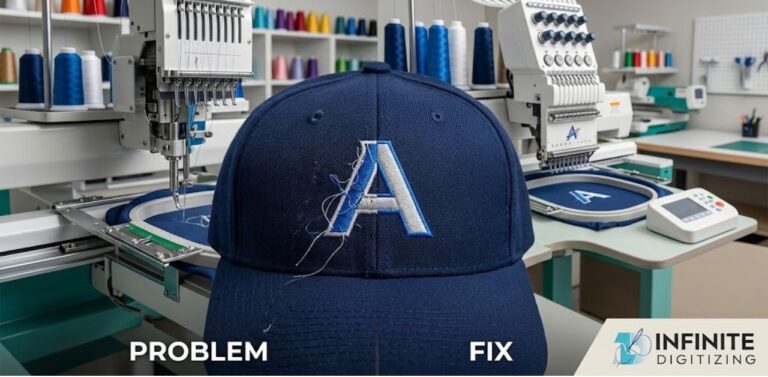
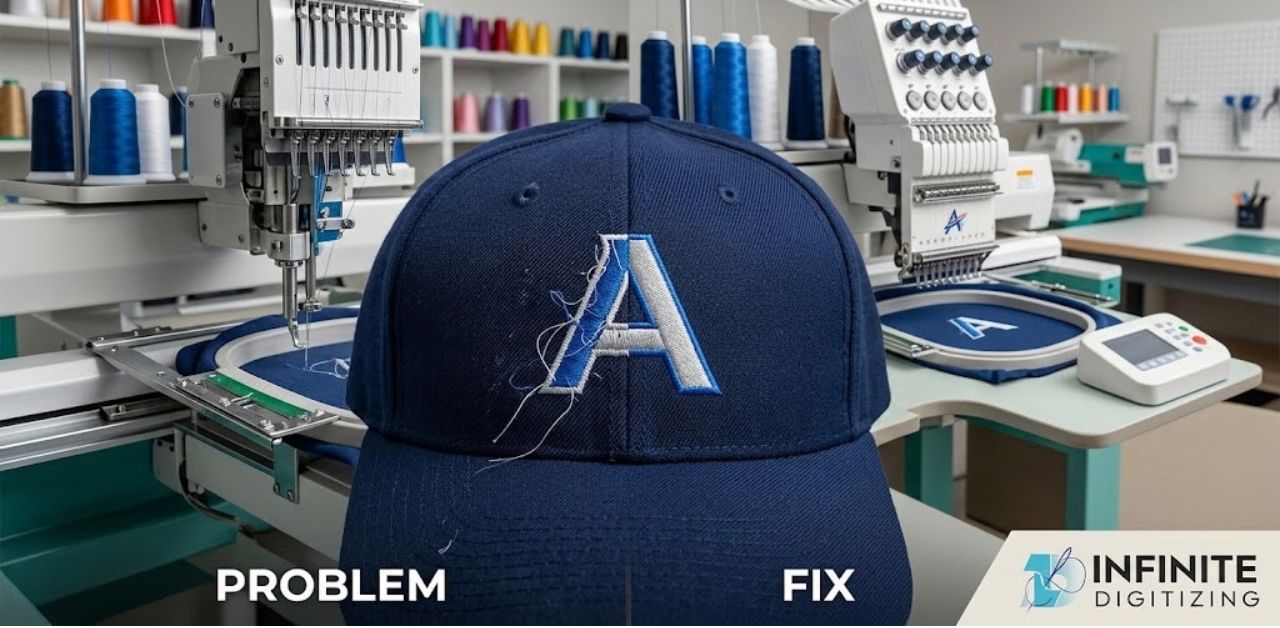
Distorted letters, puckered fabric, and broken threads on curved caps ruin blanks and waste time. Unlike flat garments, structured hats require specialized cap embroidery digitizing to account for multi-layered curves and driver movement. This specialized digitizing uses tailored pull compensation, proper center-out stitching, and adjusted densities. This approach prevents distortion, tames shifting fabric, and ensures crisp, professional logos on every hat.
Why Caps Are the Hardest Surface in Machine Embroidery
Embroidery shops quickly learn that what stitches out cleanly on a flat polo will often look completely distorted on a baseball cap. Caps are curved, layered, and rigid thanks to the buckram backing behind the front panel. When a cap driver secures a hat, it forces the fabric into an arc rather than a flat plane.
Furthermore, the center seam running down the front panel creates a physical ridge that pushes and pulls the needle in unpredictable directions. If your design file was created without accounting for this curvature and structural resistance, your machine will fight the hat the entire way through. Addressing this challenge requires expert cap digitizing and a solid understanding of how Machine Embroidery behaves on curved surfaces. For a deeper look at production timelines once your file is ready, check out our guide on How Long Does It Take to Embroider a Hat?.
At a Glance: Cap Embroidery Problems vs Digitizing Fixes
To understand how professional cap embroidery digitizing services keep your production runs smooth, look at how specific file adjustments target common hardware-level issues:
| S.No | Cap Embroidery Problem | Root Cause | Digitizing Fix |
|---|---|---|---|
| 01 | Logo distortion on curve | No push-pull compensation for panel curvature | Compensation values + adjusted column direction |
| 02 | Puckering at cap front | Underlay not matched to buckram stiffness | Panel-specific underlay + density tuning |
| 03 | Thread breaks / tension issues | Stitch length not adapted to seam ridge | Shortened stitches + added trims at the seam line |
| 04 | Skipped stitches near seam | Needle penetrations mistimed to seam thickness | Re-sequenced stitch path around the seam |
| 05 | Off-center placement | No hooping template built into the file | Center guides + placement marks in the export |
Problem 1: Logo Distortion on the Curved Front Panel
Straight lines, sharp boxes, and crisp blocks of text tend to curve up into a “smile” or “frown” shape when they wrap around the front of a hat.
- The Root Cause: The design was digitized as a flat file, disregarding how the fabric moves in its three-dimensional arc.
- The Fix: Professional cap embroidery digitizing builds in tailored push-pull compensation. Satin columns are angled to match the natural curve of the panel, and compensation values are increased so the stitches pull back into straight lines once sewn. For small lettering under 0.25 inches, digitizers slightly open up the letter spacing so individual stitches do not crowd together and blur the text.
Problem 2: Puckering and Fabric Pull at the Cap Front
Puckering looks like an unsightly ripple or bubble of fabric surrounding dense fills, particularly on structured caps with heavy buckram linings.
- The Root Cause: Using generic underlay and density settings copied straight from a flat-garment file rather than tailoring them for rigid cap materials.
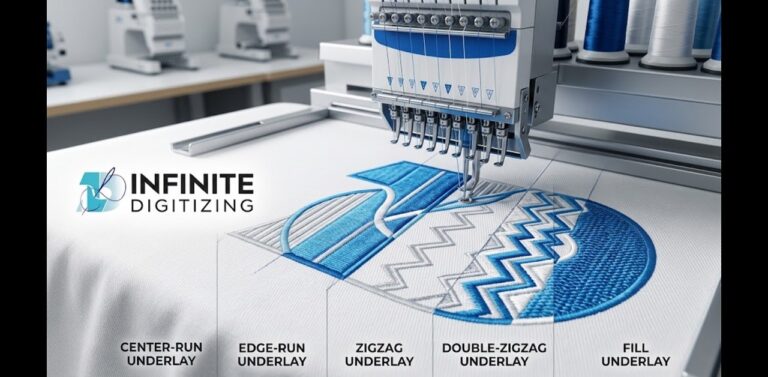
- The Fix: We apply edge-walk and zigzag underlay specifically calibrated to tame stiff cap panels, paired with a slight reduction in stitch density across heavy fill zones. Splitting large fill blocks into smaller, segmented sections also prevents tension from building up unevenly across the crown. If you are struggling with puckered caps, reliable hat digitizing can save your production run before sewing begins.
Problem 3: Thread Breaks and Tension Trouble on Structured Caps
There is nothing quite as disruptive as a commercial embroidery machine screeching to a halt due to constant thread snaps right as it crosses the front panel seam.
- The Root Cause: Stitch lengths are too long to navigate the sudden spike in thickness created by the center seam ridge.
- The Fix: Experienced cap digitizing shortens stitch lengths as the needle approaches the seam line and introduces manual trim commands to prevent dragging long threads across the ridge. While machine tension matters, a clean-running cap file does the heavy lifting to keep thread stress to a minimum.
Problem 4: Skipped or Missing Stitches Near the Seam
Skipped stitches often happen right alongside thread breaks near the vertical cap seam, but the culprit is mechanical timing meeting extreme fabric resistance. For more details on what causes these production hurdles, read our article on the causes of missing stitches on embroidery machine design.
- The Root Cause: The stitch path forces the needle to penetrate thick, multi-layered fabric at an awkward angle, causing the thread loop to miss the hook.
- The Fix: Professional digitizers re-sequence the stitch path so fewer needle drops land directly on top of the heavy seam ridge. Running a quick test sew on an actual cap blank rather than a flat sample swatch helps catch these microscopic timing conflicts early.
Problem 5: Off-Center or Misaligned Logo Placement
You load a hat onto your machine frame, hit start, and realize the logo sits half an inch too high or leans slightly to the right.
- The Root Cause: The file lacks built-in registration marks, forcing the operator to eyeball the center line during hooping.
- The Fix: Top-tier cap embroidery digitizing services USA providers ensure every exported file includes clear crosshair center guides and hooping boundaries matched to standard cap frames. Having these digital reference points removes the guesswork and speeds up production setup.
Digitized vs Non-Digitized Cap Files: The Real Quality Gap
Using auto-digitized or flat-garment files on caps almost always results in avoidable re-runs. Professional hat embroidery digitizing services look at the panel curve, seam ridge, and backing stiffness as an integrated system.
| Feature | Auto-Digitized / Flat-File Cap Design | Properly Digitized Cap File |
|---|---|---|
| Text under 0.25″ | Frequently closes up or warps | Stays legible with adjusted spacing |
| Curved panel accuracy | Straight lines bow visibly | Compensated to sew true |
| Puckering risk | High on dense fills | Reduced via tuned underlay/density |
| Placement | Manual hooping guesswork | Built-in center guides |
| Rework / reruns | Common | Rare |
Where to Get Professional Cap Embroidery Digitizing Services
Partnering with experienced professionals makes all the difference when running high-stakes cap orders. At Infinite Digitizing, we craft files specifically for cap frames and heavy-duty commercial embroidery machines, rather than just shrinking or flattening old designs. We offer fast turnaround times for bulk orders, free revisions if adjustments are needed, and multi-format support for all major machine brands.
Get a Free Cap Digitizing Quote →
Key Takeaways
Mastering cap embroidery requires moving beyond flat-garment techniques to address curves, seams, and structured buckram. By implementing tailored push-pull compensation, center-out stitching, and strategic underlay, you can eliminate distortion, puckering, and thread breaks. Professional digitizing transforms frustrating hat runs into clean, high-quality, and efficient production.
Infinite Digitizing resolves complex cap curves and seam challenges, guaranteeing sharp, professional embroidery on every structured hat.
FAQs
1. Why does cap embroidery look distorted or misaligned?
A: Uncompensated curved panels and missing center registration marks cause designs to bow, stretch, or sew off-center.
2. What causes gaps and pulling in cap designs?
Inappropriate underlay, excessive stitch density, and the physical ridge of the center seam create pulling and puckering.
3. How is cap digitizing different from flat embroidery?
It uses tailored push-pull compensation, center-out sequencing, and adjusted densities specifically built for curved hats.
4. Which stitch direction works best on a curved cap panel?
Sich columns angled to match the natural curve of the panel prevent distortion and maintain straight lines.
5. Can a flat logo file be reused for caps?
No, flat files lack the structural adjustments needed to prevent puckering, thread breaks, and severe text warping on hats.