When it comes to creating an apparel brand line, knowing how each type of fabric requires a different treatment is imperative. Whether you are dressing up your business team in office clothes or your sports team in performance jerseys, we will give you sharp and ready-to-sell products through our expert custom embroidery digitizing. A one-size-fits-all approach to file preparation often leads to puckering, thread breaks, and misaligned logos.
Why Left Chest Placement Isn’t “One Setting Fits All”
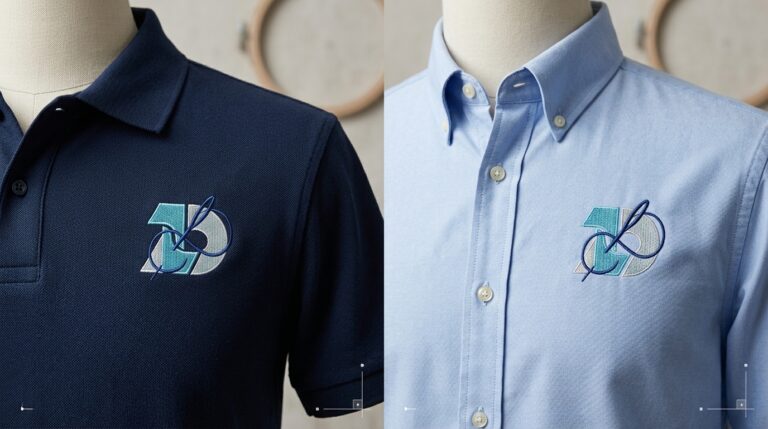
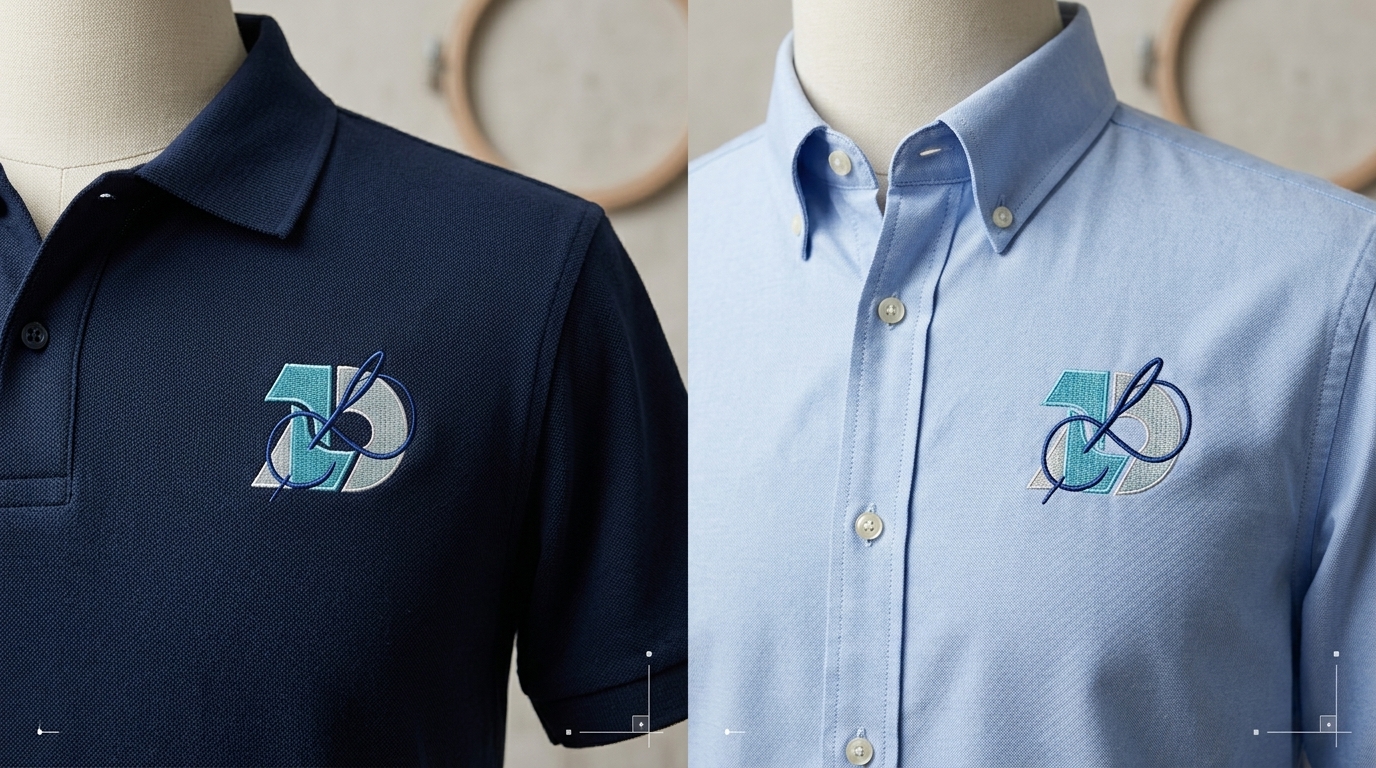
When digitizing for embroidery, many people assume a standard 3-inch badge file works universally across any garment. In truth, knit polo fabric is elastic and reacts very quickly to push-pull distortion compared to woven cotton fabric. Additionally, button-up shirts come with components such as a front placket, pockets, and structural seams close to the left chest zone that traditional polos lack.
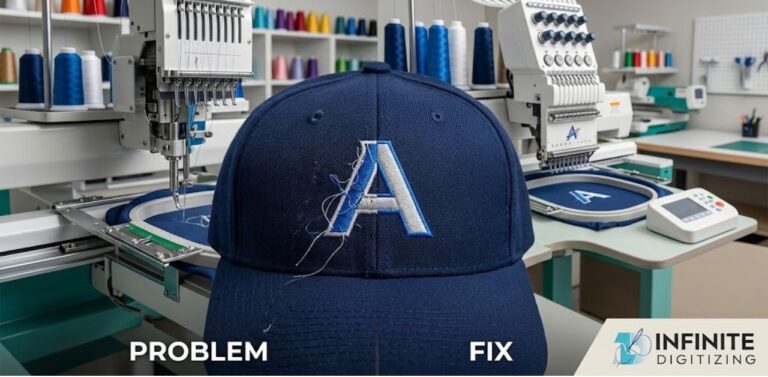
If you use a previously created file for one item on the other item without modification, you are inviting thread breaks, fabric puckering, or a crooked logo. To dive deeper into foundational file preparation, read our guide on How to Digitize a Logo for Embroidery.
Polo vs Button-Up: Fabric Differences That Change the File
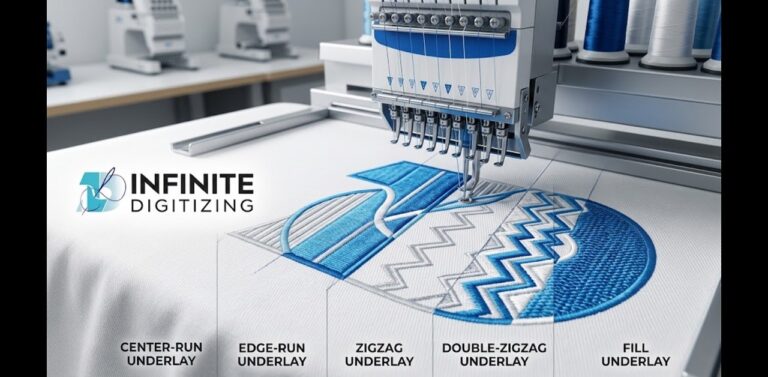
Achieving high-end custom embroidery digitizing means respecting the physical limits of your textile. High-tier embroidery digitizing services always modify their underlay and pull compensation depending on whether the garment yields or holds firm.
| Factor | Polo Shirt (Knit) | Button-Up Shirt (Woven) |
|---|---|---|
| Fabric behavior | Stretches and moves with the needle | Stable with minimal stretch |
| Underlay needed | Heavier — edge walk + zigzag | Lighter — edge walk usually enough |
| Push-pull compensation | Higher — knit distorts more | Lower — woven holds shape |
| Stitch density (fill) | Slightly reduced to avoid show-through | Can run standard density |
| Typical stabilizer | Cutaway | Tearaway or lightweight cutaway |
Note: Always confirm density ranges and stabilizer weights against current in-house digitizing specs before running bulk production.
Logo Placement: Where the Left Chest Actually Sits
Consistent logo placement is what separates amateur merch from retail-grade apparel. As part of our custom embroidery digitizing services, we always advise clients on proper alignment.
- Standard Rule: A typical left-chest logo would usually be placed 3 to 4 inches below the shoulder seam and 3 to 4 inches from the center placket.
- On a Polo Shirt: Take the measurements from the top of the placket rather than the collar band, since plackets on polo shirts don’t stretch throughout the entire front of the shirt.
- On a Button-Up Shirt: Take accurate measurements from the button line, always being careful about chest pockets. If a pocket intersects the design zone, the logo often needs to shift slightly upward or inward to avoid awkward overlap.
A design scaled for a wide polo panel can sometimes feel cramped or oversized on a narrower button-up chest panel. For more details on managing garment distortion, read our piece on Push-Pull Compensation.
Stitch Count & Density: Polo Settings vs Button-Up Settings
A common misconception is that artwork density should remain identical across all garments. In reality, a custom embroidery digitizing service must tailor stitch parameters to the yarn layout.
- Polo Adjustments: A slightly lower stitch count often reads cleaner on a textured knit because open spaces let the fabric breathe through the design without turning into a heavy shield. Fill stitches also benefit from a slightly longer stitch length to prevent a stiff, board-like feel.
- Button-Up Adjustments: Smooth woven surfaces easily support fine satin columns and crisp lettering without filling in or blurring.
Minimizing unnecessary color changes and trims helps protect production speed and machine efficiency on both styles. The golden rule is simple: the artwork vector can stay identical, but the stitch file rarely should.
Stabilizing and Hooping: What Changes Between the Two
Even a brilliantly digitized file will fail if the hooping and backing choices are wrong. Left Chest Embroidery demands stability, but the type of backing depends entirely on the garment.
- Backing for Polos: Polos almost always require a stable cutaway backing. Because knits are stretchy, tearaway alone may lead to sags or puckers developing over time after several washes.
- Backing for Button-Ups: Well-constructed button-up shirts, specifically twills or oxfords that are somewhat heavy-duty, will hoop nicely using a good mid-weight tearaway.
- Hooping Precautions: Hoop your polo shirt evenly along the side seams and placket to prevent stretching. For button-ups, ensure your hoops keep plastic rings and clamps entirely clear of buttons and front plackets to avoid needle strikes.
Common Mistakes When Digitizing for Either Garment
Avoiding costly production errors starts with knowing what traps to dodge before hitting the embroidery machine:
- Using a Universal File: Running one unadjusted file across both polos and button-ups without altering density or underlay settings.
- Eyeballing Placement: Placing logos by visual guesswork instead of measuring from the placket or button line.
- Ignoring Pockets: Failing to account for chest pockets on button-ups, leading to distorted stitches over pocket seams.
- Skipping Test Runouts: Neglecting a physical test stitch-out on scrap fabric before launching a massive production run.
- Ignoring Fabric Stretch: Sending a file digitized for rigid woven cotton straight onto a stretchy poly-blend athletic polo.
Which One Should You Digitize First: Polo or Button-Up?
If you are coordinating a corporate apparel rollout featuring both styles, start by building the polo file first. Polo-optimized files tend to be more forgiving when scaled down or tweaked for woven garments, whereas woven-first files are frequently too dense and stiff when run directly on stretchy knits.
At Infinite Digitizing, our technicians build an optimized core base file, then craft garment-specific variants rather than forcing one file to do double duty.
Order Your Left Chest Digitizing File Today →
How Infinite Digitizing Handles Both
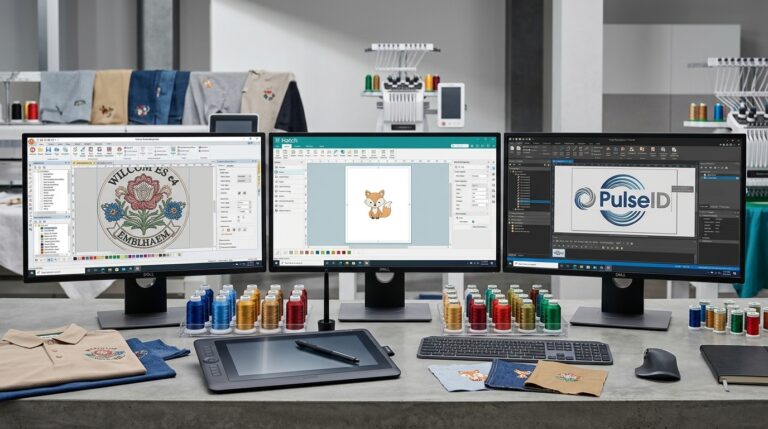
Getting apparel decoration right needs a combination of software expertise and hands-on textile knowledge. Our custom embroidery digitizing services in the USA deliver top-tier results tailored to your exact garment types.
- In-House Expertise: Expert digitizers adjust density, underlay, and pull compensation specifically for knits versus wovens using Wilcom Studio.
- Fast Turnaround: Enjoy reliable turnaround times of 4 to 6 hours along with unlimited edits on sizing and placement.
- Multi-Format Delivery: Get your designs in all popular sewing machine formats like DST, PES, JEF, and EXP for seamless operations on your production line.
- Dedicated Support: US-based customer support is always ready to answer placement and file setup questions before you start stitching.
Explore our full range of solutions, including Custom Embroidery Digitizing and Workwear Logo Embroidery Digitizing.
Key Takeaways
Mastering left chest embroidery requires adapting your files to the unique properties of each textile. While knits demand higher pull compensation and cutaway backing, wovens offer stability for crisp lettering. Tailoring your settings for polos versus button-ups guarantees retail-ready, professional apparel every single time.
Partner with Infinite Digitizing for expert, textile-tailored machine files that elevate your brand apparel with zero defects.
FAQs
1. What is left chest digitizing?
A: Preparing vector artwork into a specialized machine embroidery file optimized for a garment’s left chest area.
2. What is the standard left chest logo size?
A: Typically a 3-inch badge file, though placement sits 3 to 4 inches down and out from the shoulder/center.
3. How does placement differ on a polo vs. a button-up shirt?
A: Polos measure from the top placket edge, while button-ups measure from the button line and avoid pocket intersections.
4. Why does the placket seam affect left chest embroidery?
A: It serves as the structural reference point for accurate, symmetrical alignment.
5. Do you need a separate file for polos and button-ups?
A: Yes, because knits and wovens require different density, underlay, and pull compensation settings.