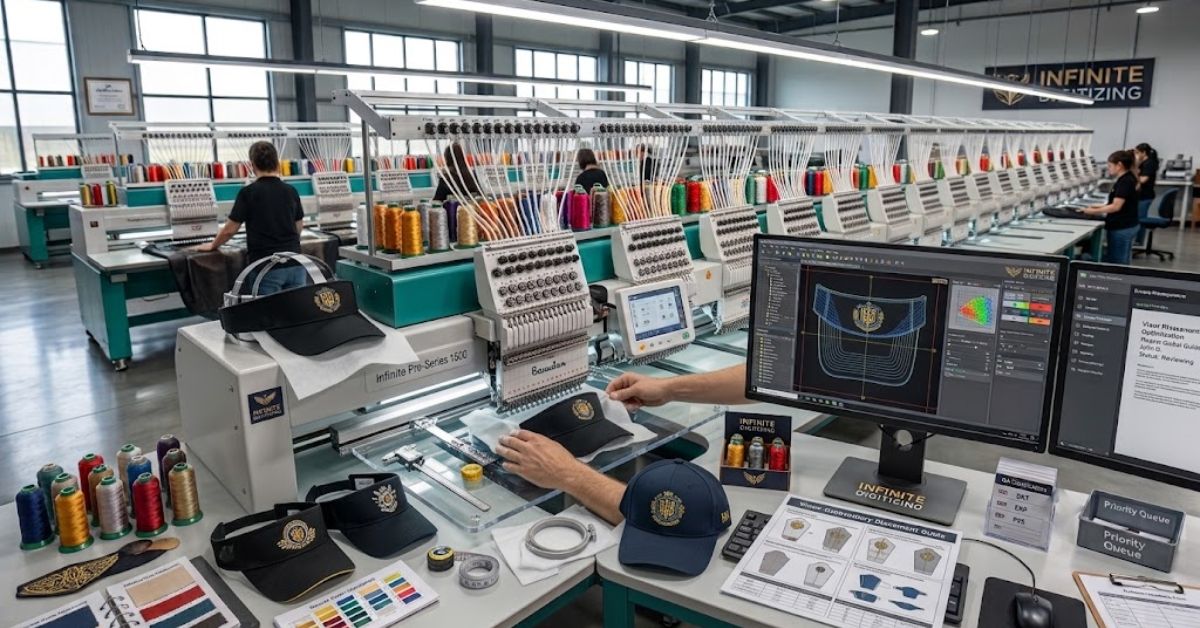
Stitching custom designs on a visor blends machine embroidery with smart technique. Whether you are improving sports equipment or making custom accessories, working with curved brims offers a new creative challenge. Infinite Digitizing provides skilled cap and visor digitizing to make sure your designs are always stitched clearly.
Why Embroider a Visor Yourself?
When you start creating your own unique items rather than just purchasing standard store stuff, working on this skill becomes incredibly fulfilling.
- Personalization: Use of team names, initials, and even little logos that reflect your own aesthetic.
- Cost Efficiency: It’s cheaper than buying visors that are already embroidered in large quantities or from custom stores.
- Skill Building: This is a good, easy project to start with before doing bigger projects like full crowns or structured caps.
Understanding the basics of embroidery digitizing helps you see how regular artwork is turned into actual stitches for a neat edge.
What Is a Visor?
A visor is simply a brimmed hat frame with an open crown. Golfers, runners, and tennis players wear them constantly to keep glare out of their eyes while staying cool.
- Flat Brim: Very friendly for beginners and simpler to stabilize in standard or specialty frames.
- Curved Brim: Gives a nice, classic style but needs special care when using a hat digitizing services framework.
- Fashion vs. Sports Visors: Fashion visors are usually made with wide brims, which offer enough space to create great designs, while sports visors are more durable and better for clear lettering.
Learning about your visor style at the very beginning of the process will save you from a lot of trouble by preventing fabric distortion.
Materials You Need to Embroider a Visor
Using the right equipment helps your machine work well and prevents your thread from breaking while you design. Here’s a quick list to look at before you begin setting up your workspace:
| SNO | Item | Purpose |
|---|---|---|
| 1 | Visor | The base fabric you are decorating |
| 2 | Embroidery Thread (Polyester or Rayon) | Provides decorative, colorfast stitching |
| 3 | Embroidery Needle (75/11 or 90/14) | Ensures clean penetration without fraying |
| 4 | Stabilizer (Tear-Away or Cut-Away) | Supports fabric during high-speed stitching |
| 5 | Embroidery Machine | Automates precise needle movement |
| 6 | Cap Frame or Hooping Device | Holds the curved brim steady |
| 7 | Fabric Marker or Chalk | Marks exact design placement |
| 8 | Digitized Design File | Guides the machine’s stitch path accurately |
Keep cap designs compact for limited brim real estate. A precise file ensures clean machine paths on narrow, curved surfaces. For a reliable file source, use cap digitizing services to turn rough sketches into clean, machine-ready formats built for brims.
How to Embroider a Visor: 6-Step Process
Going through a process of a structured workflow will ensure that your project will be completed successfully from beginning to end. Here are some checkpoints to help you obtain great results:
- Prepare the Visor: Grab a piece of chalk, find the exact center of the brim, and lock the visor tightly into your cap frame so it stays completely taut.
- Load the Stabilizer: Cut a piece of tear-away or cut-away backing slightly larger than your graphic and slip it right beneath the brim.
- Set Up the Machine: Thread your machine with your chosen color, pull up your custom cap embroidery digitizing file, and align the needle directly over your center mark.
- Adjust Settings: Manually lower the needle to position it correctly. It is a good idea to do a test run using the extra fabric left over.
- Begin Stitching: Hit the start button and watch the machine. Visors are stiffer than flat shirts, so it’s important to catch any tangled threads early. Check the different Kinds of Stitches in Embroidery to understand how they work on curves.
- Finish Up: Carefully take off the visor, cut any extra thread, remove the extra backing, and check your work for any holes or wrinkles.
Visor vs Cap Embroidery: What’s Different?
Stitching a visor feels entirely different from working on the crown of a full cap. The workspace is much narrower and deeply curved, leaving zero room for alignment errors.
- Restricted Workspace: Smaller sewing area requires careful design scaling.
- Push-Pull Compensation: Essential for keeping letters sharp instead of warped on tight curves.
- Density Tweaks: Standard embroidery cap files often need minor adjustments to fit narrow brims without puckering the material.
Find out more about Push-Pull Compensation and understand the effects of tension in thread on the material when sewing.
Common Mistakes Beginners Make
Avoiding mistakes is essential so that you do not make mistakes in filling in the blanks and save yourself from wasting time on the machine. Be careful not to commit these mistakes:
- Using Full-Cap Sizes: Forgetting to scale down a design built for a full crown, which causes the stitches to run right off the edge of the visor.
- Skipping the Test Stitch: Jumping straight into the final product without testing, leading to crooked alignment or tangled threads.
- Wrong Stabilizer Weight: Grabbing a backing that is too thin, which causes the fabric to wrinkle and pucker under dense stitches.
- Rushing the Hooping: Failure to properly tighten the rounded brim, allowing the fabric to move during the sewing process.
Pro Tips for a Clean, Professional Finish
A few small changes in your method will create a great difference in the results of your embroidery. Remember these tips:
- Slow down your machine a little when sewing small details on tight curves.
- Shift your design placement slightly lower on the brim so it frames correctly when worn.
- Match your stabilizer thickness directly to the weight and stretch of your visor fabric.
- For multi-color logos or tricky artwork, relying on professional hat embroidery digitizing services saves you from ruining finished blanks.
Get Your Visor Design Digitized by Infinite Digitizing
Infinite Digitizing offers special cap and visor design services that make sure your artwork looks good when stitched on narrow, curved edges. Send us a picture, a quick drawing, or your vector files, and we will create a custom file for your machine.
- Fast Turnaround: We deliver quickly so your production keeps moving.
- Expert Revisions: Fine-tuned adjustments for flawless stitch paths.
- Universal Compatibility: Formats that run smoothly on any domestic or commercial setup.
Get Your Visor Design Digitized →
Conclusion
Getting good at visor embroidery lets you create lots of unique custom gear. By using the right stabilizer, taking your time to set up the hoop, and getting help from professionals for digitizing, you can turn plain brims into finished, store-ready items with complete confidence.
Infinite Digitizing transforms your artwork into expert visor embroidery files for sharp, flawless results on every curved brim.
FAQs
1. How do you embroider a visor?
A: Secure the brim in a cap frame, stabilize the underside, align your digitized design, and stitch slowly.
2. What stabilizer should I use for visor embroidery?
A: Use a firm tear-away or cut-away backing to prevent fabric puckering on curved surfaces.
3. Can any logo be embroidered on a visor?
A: Most logos work if scaled down to fit the narrow real estate of a visor brim.
4. What is the best file format for visor embroidery?
A: Common commercial formats like DST, PES, and EXP work best for machine compatibility.
5. Why is cap digitizing different from flat embroidery?
A: It requires specialized push-pull compensation and density adjustments for tight curves.