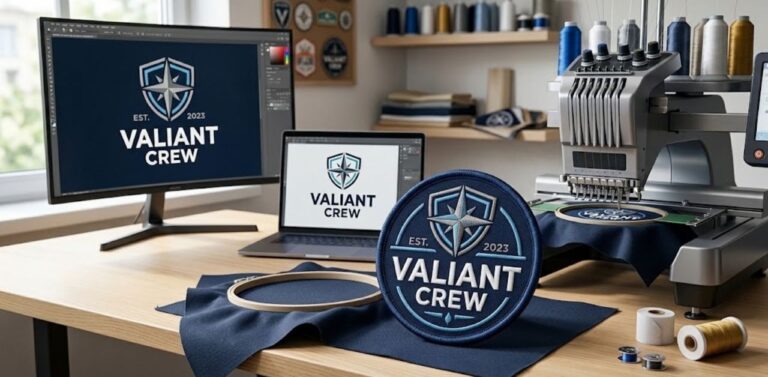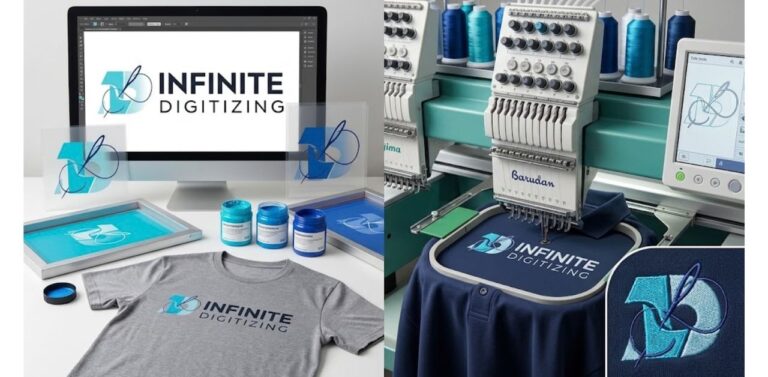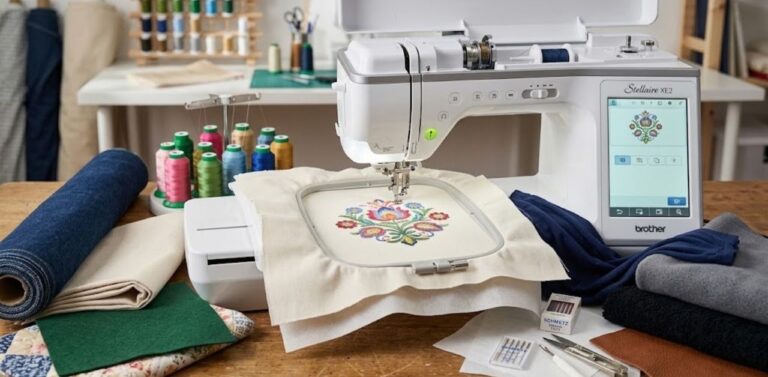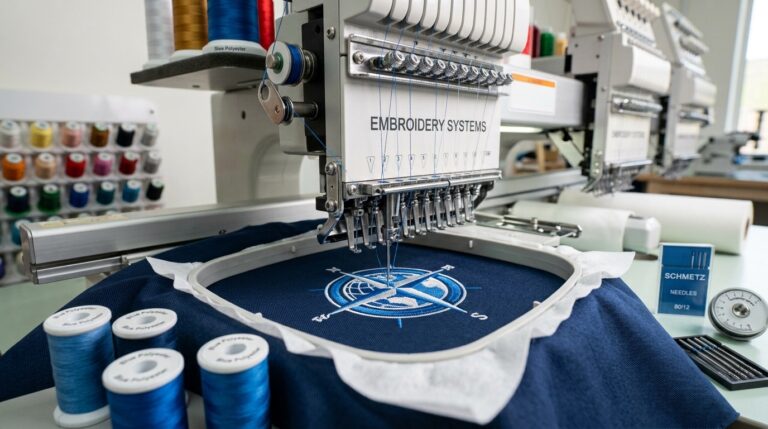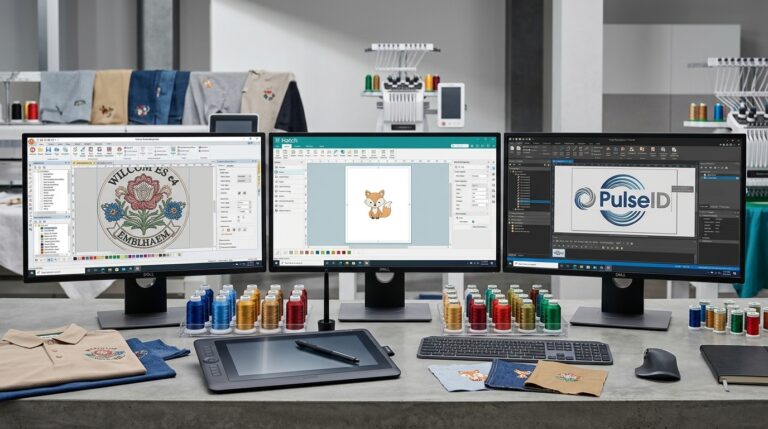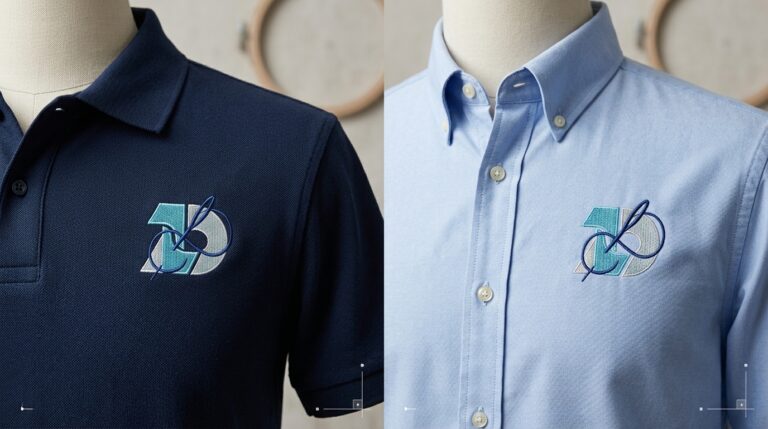
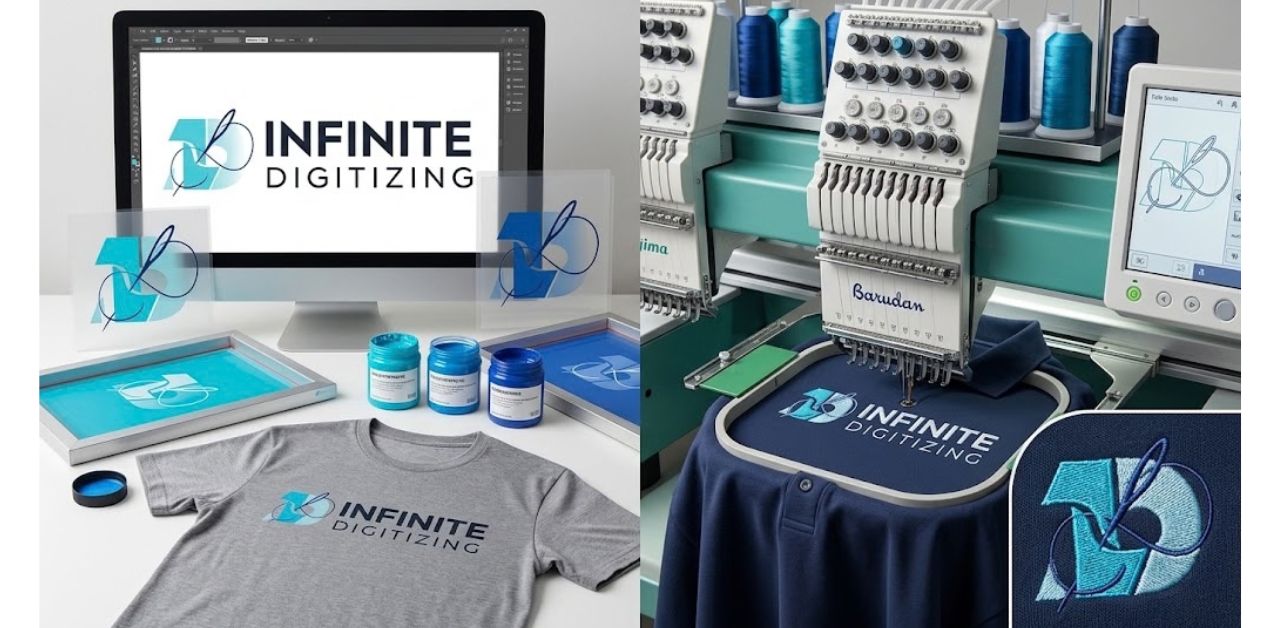
A logo that looks amazing on a computer screen or shirt can not do well on caps and polos because of how the fabric is designed. Ink and thread act very differently in production compared to how they appear on a computer, resulting in puckered fine text and blurry gradients of colour. To prevent costly errors, partnering with professional vector art services ensures your designs translate seamlessly across different mediums.
Why One Vector File Isn’t Enough
Can I use the same vector design for screen printing and embroidery? The short answer is yes and no. Even though both decoration methods need vector art as the preferred initial format since all paths and curves can be scaled indefinitely, the path immediately branches off following the preparation phase.
Screen printing uses mesh screens to apply ink to the textile in precise detail, capable of working well with sharp angles and complicated overlaps. Embroidery is a process that does not use the printing of colours but constructs physical objects using individual strands of thread, making it necessary to have good control over the stitching directions, tension, and density. That is why a vector artwork cannot be directly taken to an embroidery machine. Vector art conversion services have to be done first to convert the graphics to stitch commands.
For a step-by-step breakdown of how this underlying translation happens, see how vector art conversion works.
Quick Comparison: Screen Printing vs Embroidery Artwork
What is the difference between screen printing and embroidery artwork? While both techniques bring your logo to life on garments, they treat colors, lines, and details in fundamentally opposite ways.
| Artwork Factor | Screen Printing | Embroidery Digitizing |
|---|---|---|
| Color handling | Spot colors, one screen per color | Thread colors, typically 6–15 |
| Gradients/shading | Halftones or simulated | Not supported; needs stitch-based shading |
| Fine detail | Very fine lines possible | Minimum line width required (about 1 mm) |
| Small text | Readable at small sizes | Needs a minimum height (about 5–6 mm) |
| Final file | Separated vector (AI, EPS, PDF) | Stitch file (DST, PES, EMB) |
| Best starting point | Clean vector art | Simplified vector art |
Note to production teams: Always verify exact fabric-specific size thresholds with your digitizing team before running large apparel orders.
If you are trying to decide which route best fits your apparel line, take a look at embroidery vs printing: which is right for you to weigh the pros and cons of each medium.
How Vector Art Changes for Screen Printing
When prepping artwork for screen printing, your primary objective is clean separation and printability. Leveraging reliable vector art services ensures your files are properly structured for the press:
- Color Separation: Each unique ink color needs to be separated to its own layer so that the print house can make its own screens for printing each ink separately.
- Trapping and Registration: Objects overlap one another or get trapped in places where two colors come together to avoid gaps due to slight shifting on the press.
- Halftones: Gradients and photographic shadows cannot be made out of solid ink but require dots (halftones) to create an illusion of smooth gradients.
- Clean Paths & Outlined Text: All fonts must be outlined so that no missing system fonts affect your design on the printer’s computer.
- Scale Flexibility: Because vector graphics are created mathematically, it is possible to use the same design for both a small left-chest logo and a huge full-back illustration.
If you are outsourcing your prep work to online vector art services, ensure you know what file structures your printer expects by reviewing which vector file formats printers accept.
How Vector Art Changes for Embroidery Digitizing
Transitioning a graphic from screen print prep to vector art services for embroidery digitizing requires a completely different mindset. Instead of detailing the design, it usually involves removing details to maintain structural integrity on fabric:
- Simplify the Design: Get rid of any gradient effects, minute hairline separations, and complicated drop shadowing effects that cannot be achieved through threading.
- Manage Color Counts: Although screens can work with multiple ink colors, most commercial embroidery machines can only use 6-15 threads for one session.
- Thicken Thin Strokes: Hairline vector line thicknesses have to be increased to a minimum of 1 mm to give the stitches some structure so they don’t fall through.
- Enlarge Micro-Text: Text smaller than 5- 6 mm in height will immediately turn into a mess of stitches and therefore needs to be simplified or deleted.
- Account for Fabric Push and Pull: Caps, soft cotton T-shirts, and fleece jackets will behave differently on your needle; therefore, your vector art should not leave any room for guessing when it comes to digitizing.
Giving good-quality vector images to your digitizer will save time and give good stitch quality. To see how our team handles these precise adjustments, explore our vector art, or let an experienced vector art service streamline your raw raster ideas into production-ready blueprints.
Common Artwork Mistakes That Cost You Time
It will help you avoid some common mistakes while preparing your artwork and save a lot of time and effort for you:
- Sending artwork as low-res JPEGs and PNG raster files instead of vector files.
- Having live fonts rather than paths/outlines for typography.
- Attempting to run complex, multi-stop gradients directly through an embroidery machine.
- Leaving messy, overlapping vector shapes with hidden stray points.
- Skipping the final digital mockup approval before hitting print or stitch.
Getting Your Artwork Production-Ready
Whether you are prepping uniforms for a corporate team or launching a new retail streetwear brand, getting your files production-ready doesn’t have to be a headache. Turnaround times and formatting requirements vary depending on whether you are heading to a local press or partnering with professional vector art services in USA shops.
When sending files to Infinite Digitizing, make sure to include your clean logo artwork, target dimensions, specific garment types (like structured caps, hoodies, or performance tees), and your intended decoration method. Our teams will clean up dirty raster artwork, make sure there are clean color separations for the printer, and create optimized vector paths for stitching.
Ready to get started?
Get Your Artwork Vectorized →Key Takeaways
Converting your fashion design involves far more than just resizing an image. Screen printing relies on crisp lines of ink while embroidery needs vector art and thick lines to create its structure. Working with experts will make sure that your brand looks perfect, whether it is printed on a T-shirt or embroidered on a cap.
Infinite Digitizing pairs expert vector conversion with precise embroidery digitizing to guarantee flawless, production-ready branding on any fabric.
FAQs
1. What changes in vector artwork for screen printing vs embroidery?
A: Screen printing needs color separation and halftones, while embroidery requires simplified designs, thicker strokes, and stitch planning.
2. Can you use the same vector file for both methods?
A: Yes, as a starting point, but the file must be adapted for ink or translated into machine-readable stitch files.
3. Which file formats are required for screen printing?
A: Separated vector files such as AI, EPS, and PDF.
4. Why does embroidery need digitizing instead of vector art?
A: Embroidery builds physical thread structures, so vector paths must be translated into machine-readable stitch commands like DST, PES, or EMB.
5. How do color separations differ between the two?
A: Screen printing isolates spot colors onto separate layers, while embroidery uses limited thread colors (usually 6–15 cones).