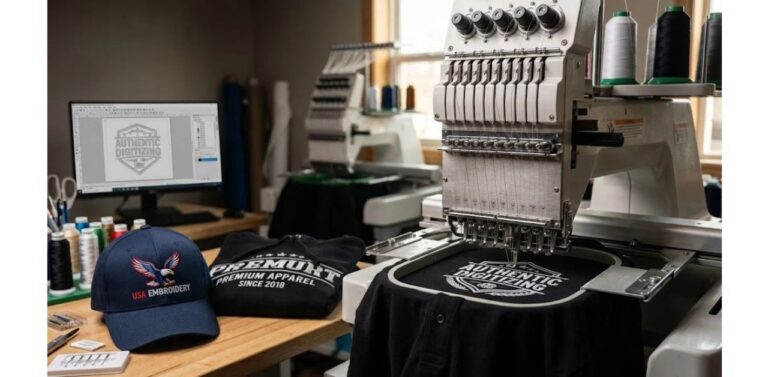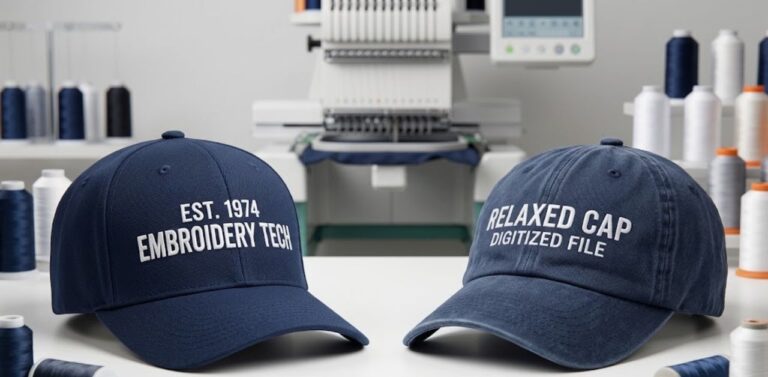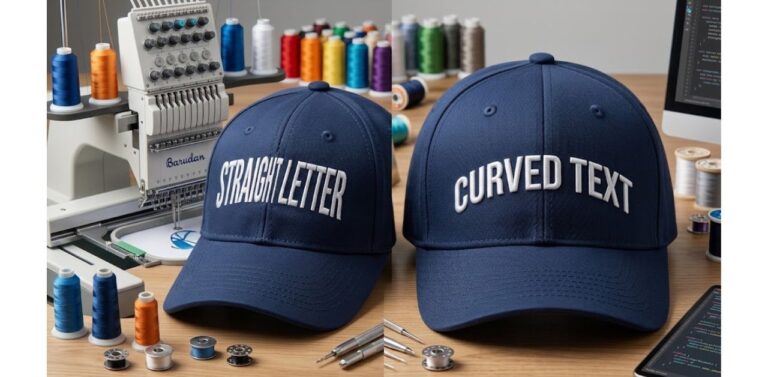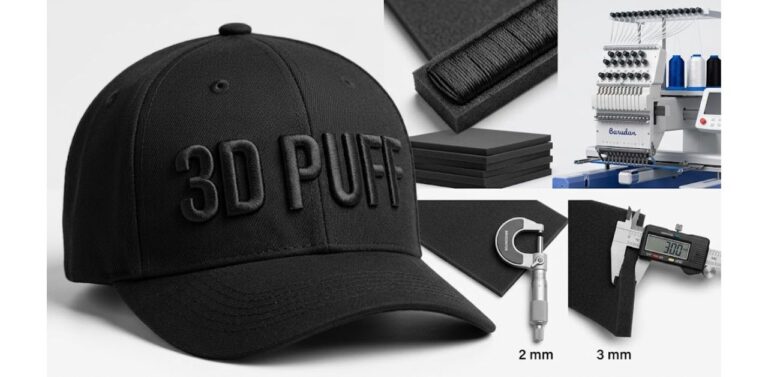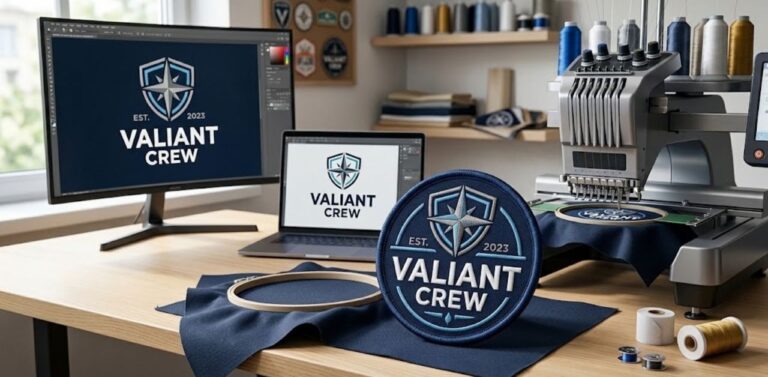
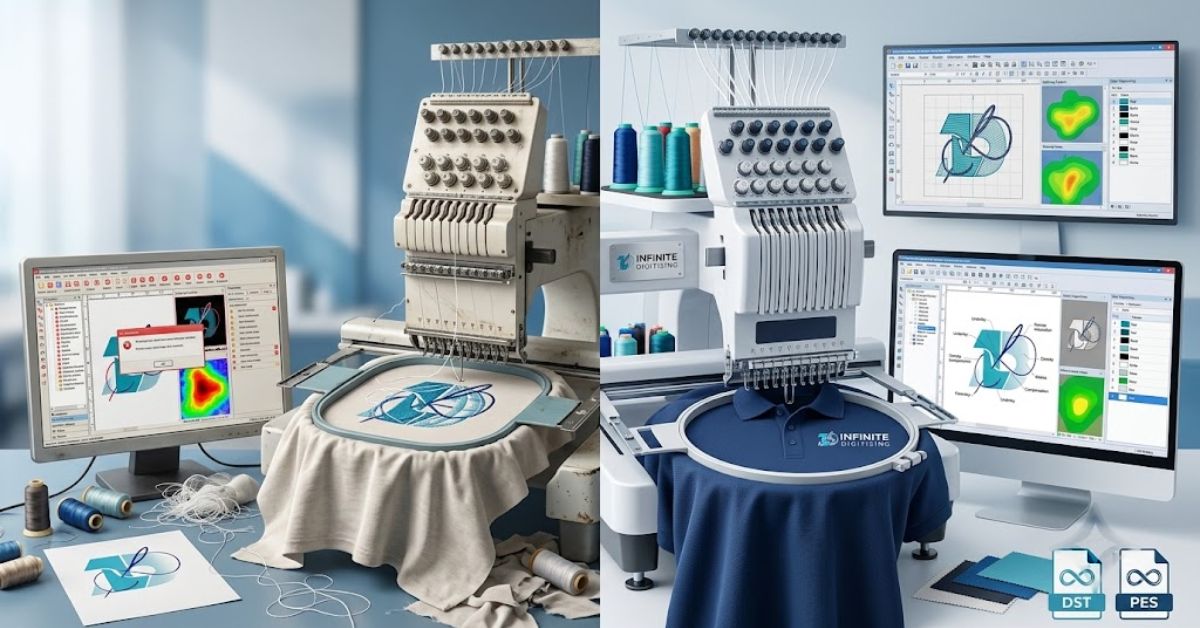
Achieving crisp, professional results in embroidery starts long before the machine begins to run. Many common production failures are actually rooted in technical errors during the embroidery digitizing process. Learning about these mistakes is important for any business person who wants to produce excellent custom clothing items.
Why Embroidery Digitizing Mistakes Cost You More Than Thread
Every professional embroiderer knows the frustration of watching a machine run a design that looked perfect on screen, only to see it pucker or gap on the garment. The process of digitizing for embroidery is truly “painting with stitches”: if the rules of physics are ignored, the result will fail. If you are new to the industry, learn the basics in our guide on What is Embroidery Digitizing? to understand how digital art becomes a finished patch.
- Financial Impact: Bad files cause wasted thread, ruined expensive blanks, and significant revenue loss from constant re-runs and customer complaints.
- Production Delays: Fixing a bad design while working slows down your daily work and adds stress for your production team.
- Brand Reputation: Problems that occur time and again will create unhappy customers for your company who have been dealing with your company for a while.
Quick Reference: Common Mistakes at a Glance
Ensure that all the information is correct for production during the ordering process of embroidery digitizing online. Use this table to spot common errors:
| Mistake | Common Symptom | Quick Fix |
|---|---|---|
| Skipping underlay | Flat, sinking stitches | Add edge/zigzag unde |
| Wrong density | Puckering or thin gaps | Match density to fabric weight |
| No Push-Pull Comp | Distorted shapes/offsets | Widen the outlines before sewing |
| Wrong stitch type | Poor coverage of the text | Match stitch type to element size |
| Oversized detail | Muddy, illegible logo | Simplify the artwork first |
| Poor pathing | Long jump stitches | Sequence elements logically |
| No test sew-out | Unpredictable results | Always sample on real fabric |
Mistake 1: Skipping or Skimping on Underlay
Underlay is the foundation that stabilizes your fabric. Without it, your top stitching has nothing to grip, causing it to sink or shift. A reliable embroidery digitizing company adjusts the underlay based on the specific fabric type. If you are struggling with gaps or misaligned borders, read our detailed look at the Causes of Missing Stitches on Embroidery Machine Design to troubleshoot the root cause.
- Edge Walk: Used to clearly define the outer border of your design and effectively lock the fabric edges.
- Zigzag: Provides a stable, reinforced base for larger fill areas to prevent gapping.
- Mesh: Specifically used to prevent fabric from pulling in toward the center of a dense design.
Mistake 2: Wrong Stitch Density for the Fabric
Stitch density needs to be tailored to the garment. Applying a generic setting to all types of fabrics would either destroy the garment or leave it looking unsewn. Proper Embroidery Digitizing keeps the design flexible.
- Stretch Fabrics: Require lower density to prevent unwanted puckering during the stretch-and-release cycle.
- Heavy Fleece: Needs higher density to prevent the stitches from disappearing into the thick nap.
- Performance Wear: Requires delicate handling to avoid creating stiff, cardboard-like patches that restrict movement.
Mistake 3: Ignoring Push-Pull Compensation
Thread pulls fabric inward as it stitches, which naturally distorts your design. If you don’t compensate by widening your shapes, your final embroidery will not match your original artwork. Our deep dive on Push-Pull Compensation explains exactly how to calculate these adjustments for perfect registration.
- The Distortion: Circles often become ovals; sharp corners become rounded and soft under the pressure.
- The Adjustment: Professional digitizers enlarge design elements slightly to counteract this “pull” effect.
- The Benefit: Accurate registration that keeps your logo looking sharp, professional, and perfectly aligned on each single run.
Mistake 4: Choosing the Wrong Stitch Type
Utilizing the wrong stitch type for a specific detail is a common oversight that ruins legibility. Skilled embroidery digitizers know exactly which tool matches the shape. Explore our library of Kinds of Stitches in Embroidery to learn which stitch is best for your design elements.
- Satin Stitches: Best for borders, small text, and narrow columns where smooth coverage is needed.
- Fill Stitches: Ideal for covering large, open areas with a durable, consistent, and textured appearance.
- Running Stitch: Perfect for fine detail lines, outlines, and traveling between different design areas.
Mistake 5: Digitizing Artwork That’s Too Small or Detailed
Many clients attempt to digitize overly complex logos. In the world of online embroidery digitizing, simplicity is your best friend when dealing with small sizes.
- Gradient Issues: Thread simply cannot replicate fine-art gradients or shading accurately on most fabrics.
- Lettering Limits: Small text often turns to “mud” or becomes completely illegible if the density is too high.
- Prep Work: Simplifying your logo before digitizing is the absolute key to a crisp, readable, and professional result.
Mistake 6: Poor Stitch Pathing and Excessive Trims
A file should move across the garment in a logical order. Unplanned pathing creates excessive jump stitches, which increase production time and the risk of unraveling.
- Color Grouping: Ensure all elements of the same color are sewn in one continuous, efficient block.
- Efficient Sequences: Plan the route from the center outwards to reduce extra fabric movement.
- Trim Reduction: Remove extra jumps to make the back of the clothing neat and professional.
Mistake 7: Skipping the Test Stitch-Out
Don’t start making a new design right away. The only way to find problems with tension or alignment is to sew on real fabric.
- Risk Reduction: Find mistakes before you damage costly fabric or clothes from customers.
- Technical Tweaks: Let you change the density or background based on what you see on the fabric.
- Quality Assurance: A good embroidery digitizing company should always do this for a new project.
DIY Digitizing vs. Professional Embroidery Digitizing Services
Learning to digitize effectively takes years of practice. Many companies see that hiring experts for embroidery digitizing services helps them save money by cutting down on waiting time and material waste. You can Contact Infinite Digitizing today to see how our team handles these technical challenges for shops around the world.
- Professional Expertise: Experts know a lot about how fabrics act and how complicated machines work.
- Scalability: Placing an order for embroidery digitizing online makes it easier for your store to deal with larger and more complicated patterns.
- Quality Assurance: Experts make sure that each file is production-ready, which means no need for any time-consuming post-editing process.
Conclusion
Mastery of the techniques involved in digitization can be an ongoing process, but by not making these seven simple mistakes, the results of your work will surely improve. By focusing on the right foundation, density, and testing, you will make sure that your designs look great on any fabric.
Choose Infinite Digitizing for expertly crafted, production-ready Embroidery Digitizing files that save time, minimize waste, and elevate brands.
FAQs
1. What are common embroidery digitizing mistakes?
A: Skipping underlay, incorrect density, ignoring push-pull compensation, and poor pathing are the most frequent errors.
2. Why do embroidery designs stitch poorly?
A: Poorly planned sequences, incorrect stitch types, and failure to account for fabric tension cause design failure.
3. How can digitizing errors be avoided?
A: Use professional services, simplify complex artwork, and always perform a test sew-out before bulk production.
4. What causes puckering in embroidery?
A: Excessive density, lack of proper underlay, or failure to adjust for fabric stretch causes puckering.